|
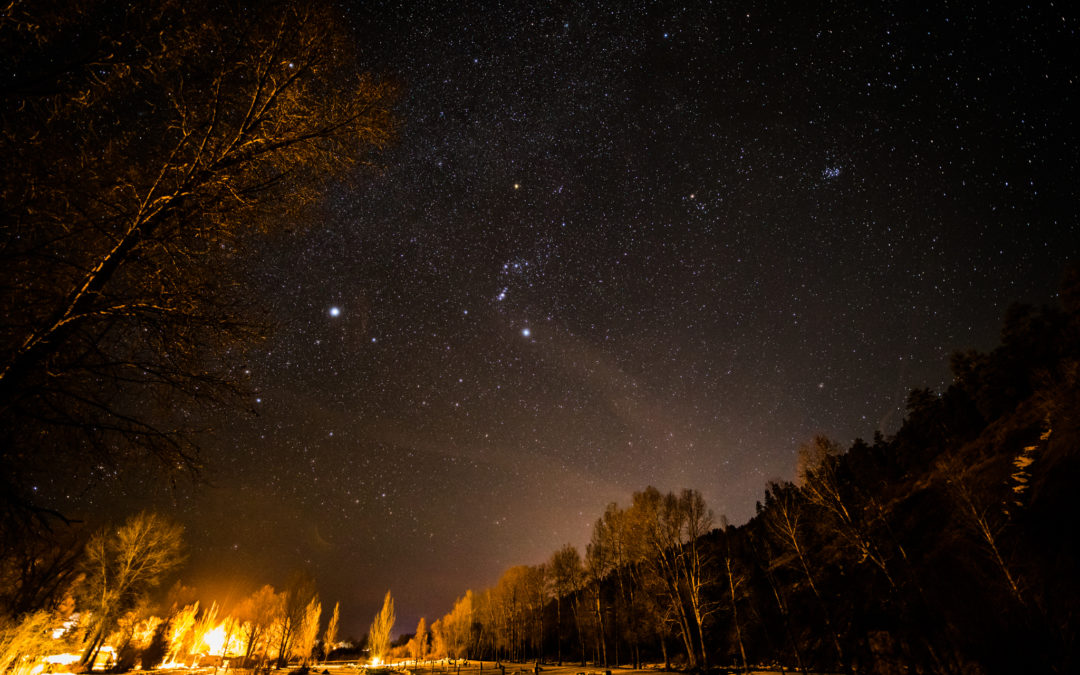
I’ve always loved night skies. As a young child, I spent summers on the family’s Western Montana ranch, far away from city lights. One of my favorite things was going outside after dinner and watching a night sky full of stars. 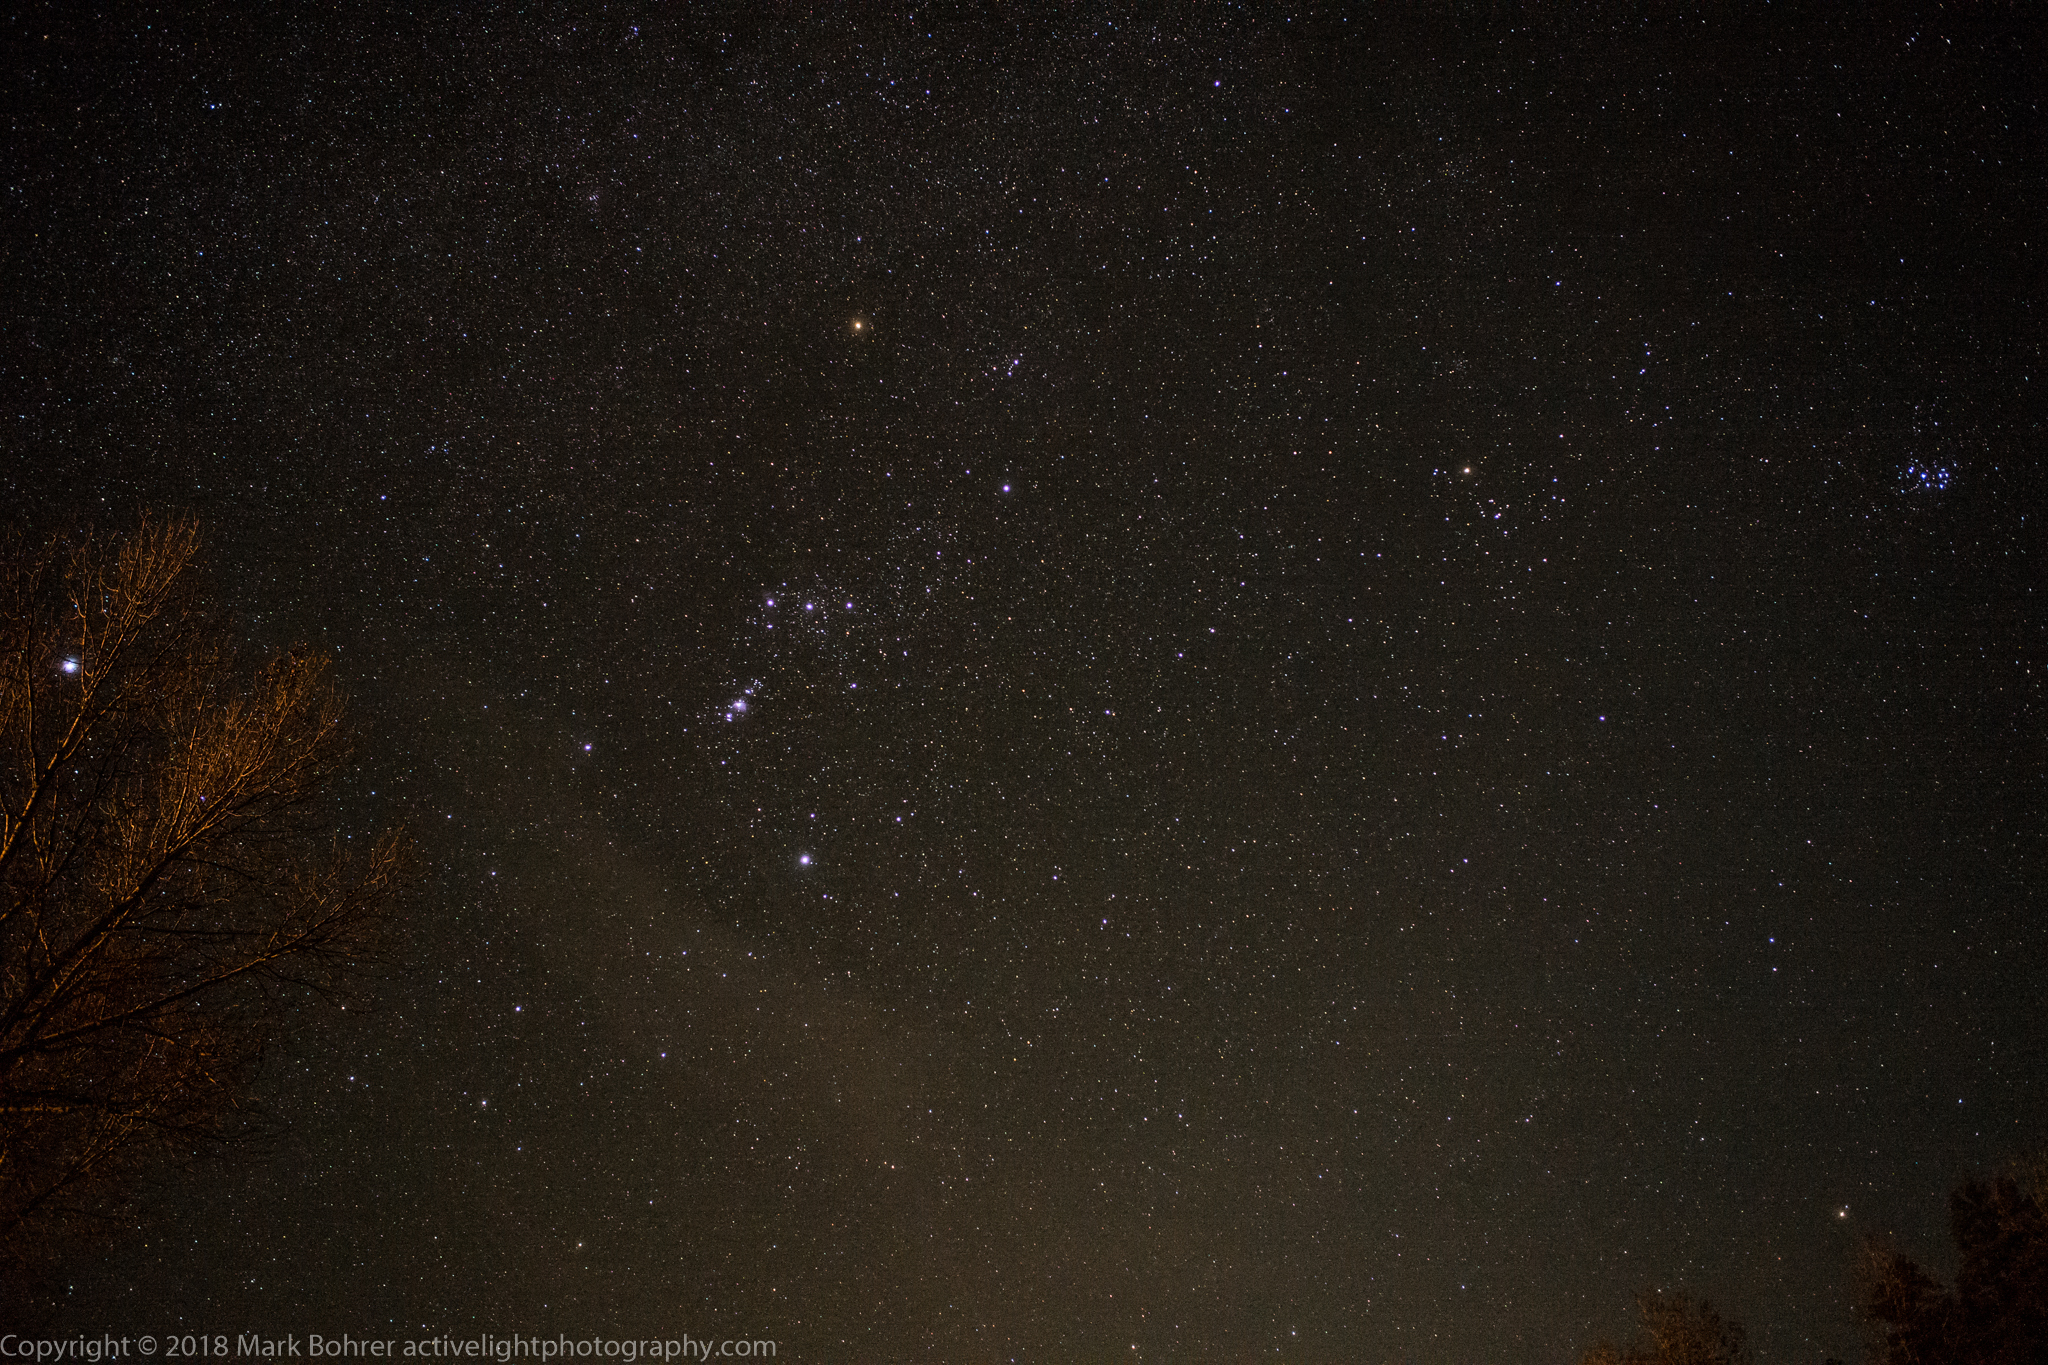 Starfield near Pagosa Springs, Colorado We moved from western Montana to the Chicago area in 1964, and that was the end of my “just walk outside” starfield viewing. I’ve lived most of my life in the Chicago area and Silicon Valley, both with far too much light pollution for dark sky viewing. After pining for that childhood rural experience for the last 50 years, I’m now living in northern New Mexico. That puts me a half day’s drive away from a variety of dark sky spots. 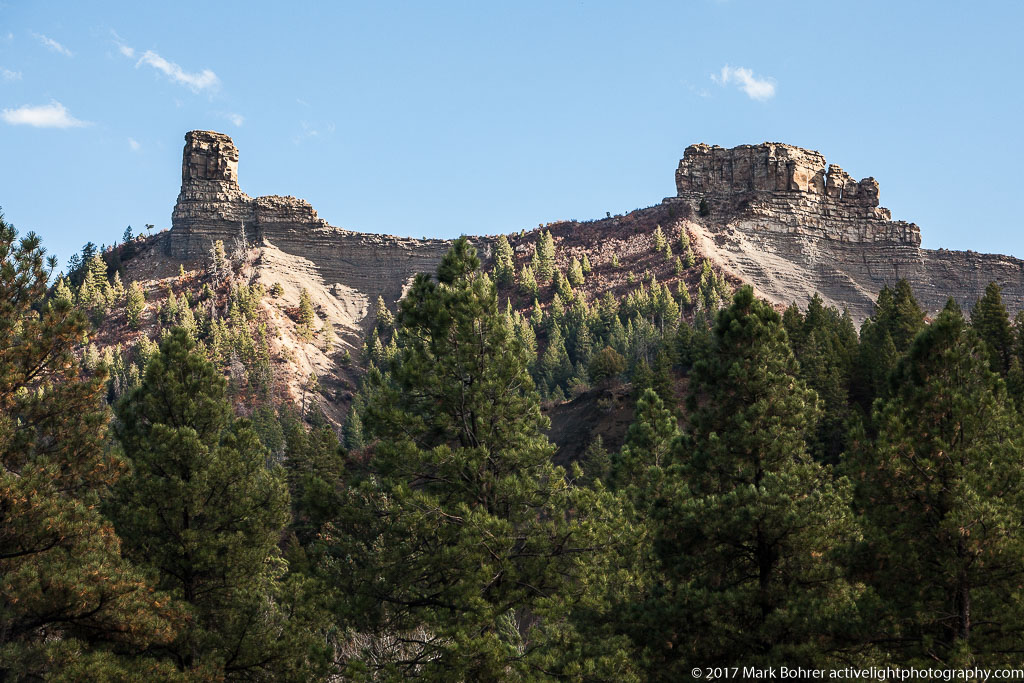 Chimney rock outside Pagosa Springs, Colorado – there’s a pueblo ruin up there… North to Pagosa For my wife’s birthday, we opted to head north to Pagosa Springs, Colorado. We’d been there before to see the farthest-north Chacoan Anasazi outlier pueblo at Chimney Rock. The Anasazi built it to watch the moon rise between Chimney and Companion Rock every 18.6 years, with initial construction around the time of the major lunar standstill / moonrise event of 1076. Later construction finished at the time of the next standstill / moonrise in 1093-1094. These tree-ring dated construction dates and the pueblo’s isolated location away from food sources indicate its purpose pretty clearly. But I digress… After discovering our other favorite attraction Treasure Falls was unplowed and inaccessible, we drove over to Chimney Rock and walked partway up the access road with the time we had left. (Chimney Rock pueblo is open for guided tours between May and October, but you can walk past the locked gate in winter.) 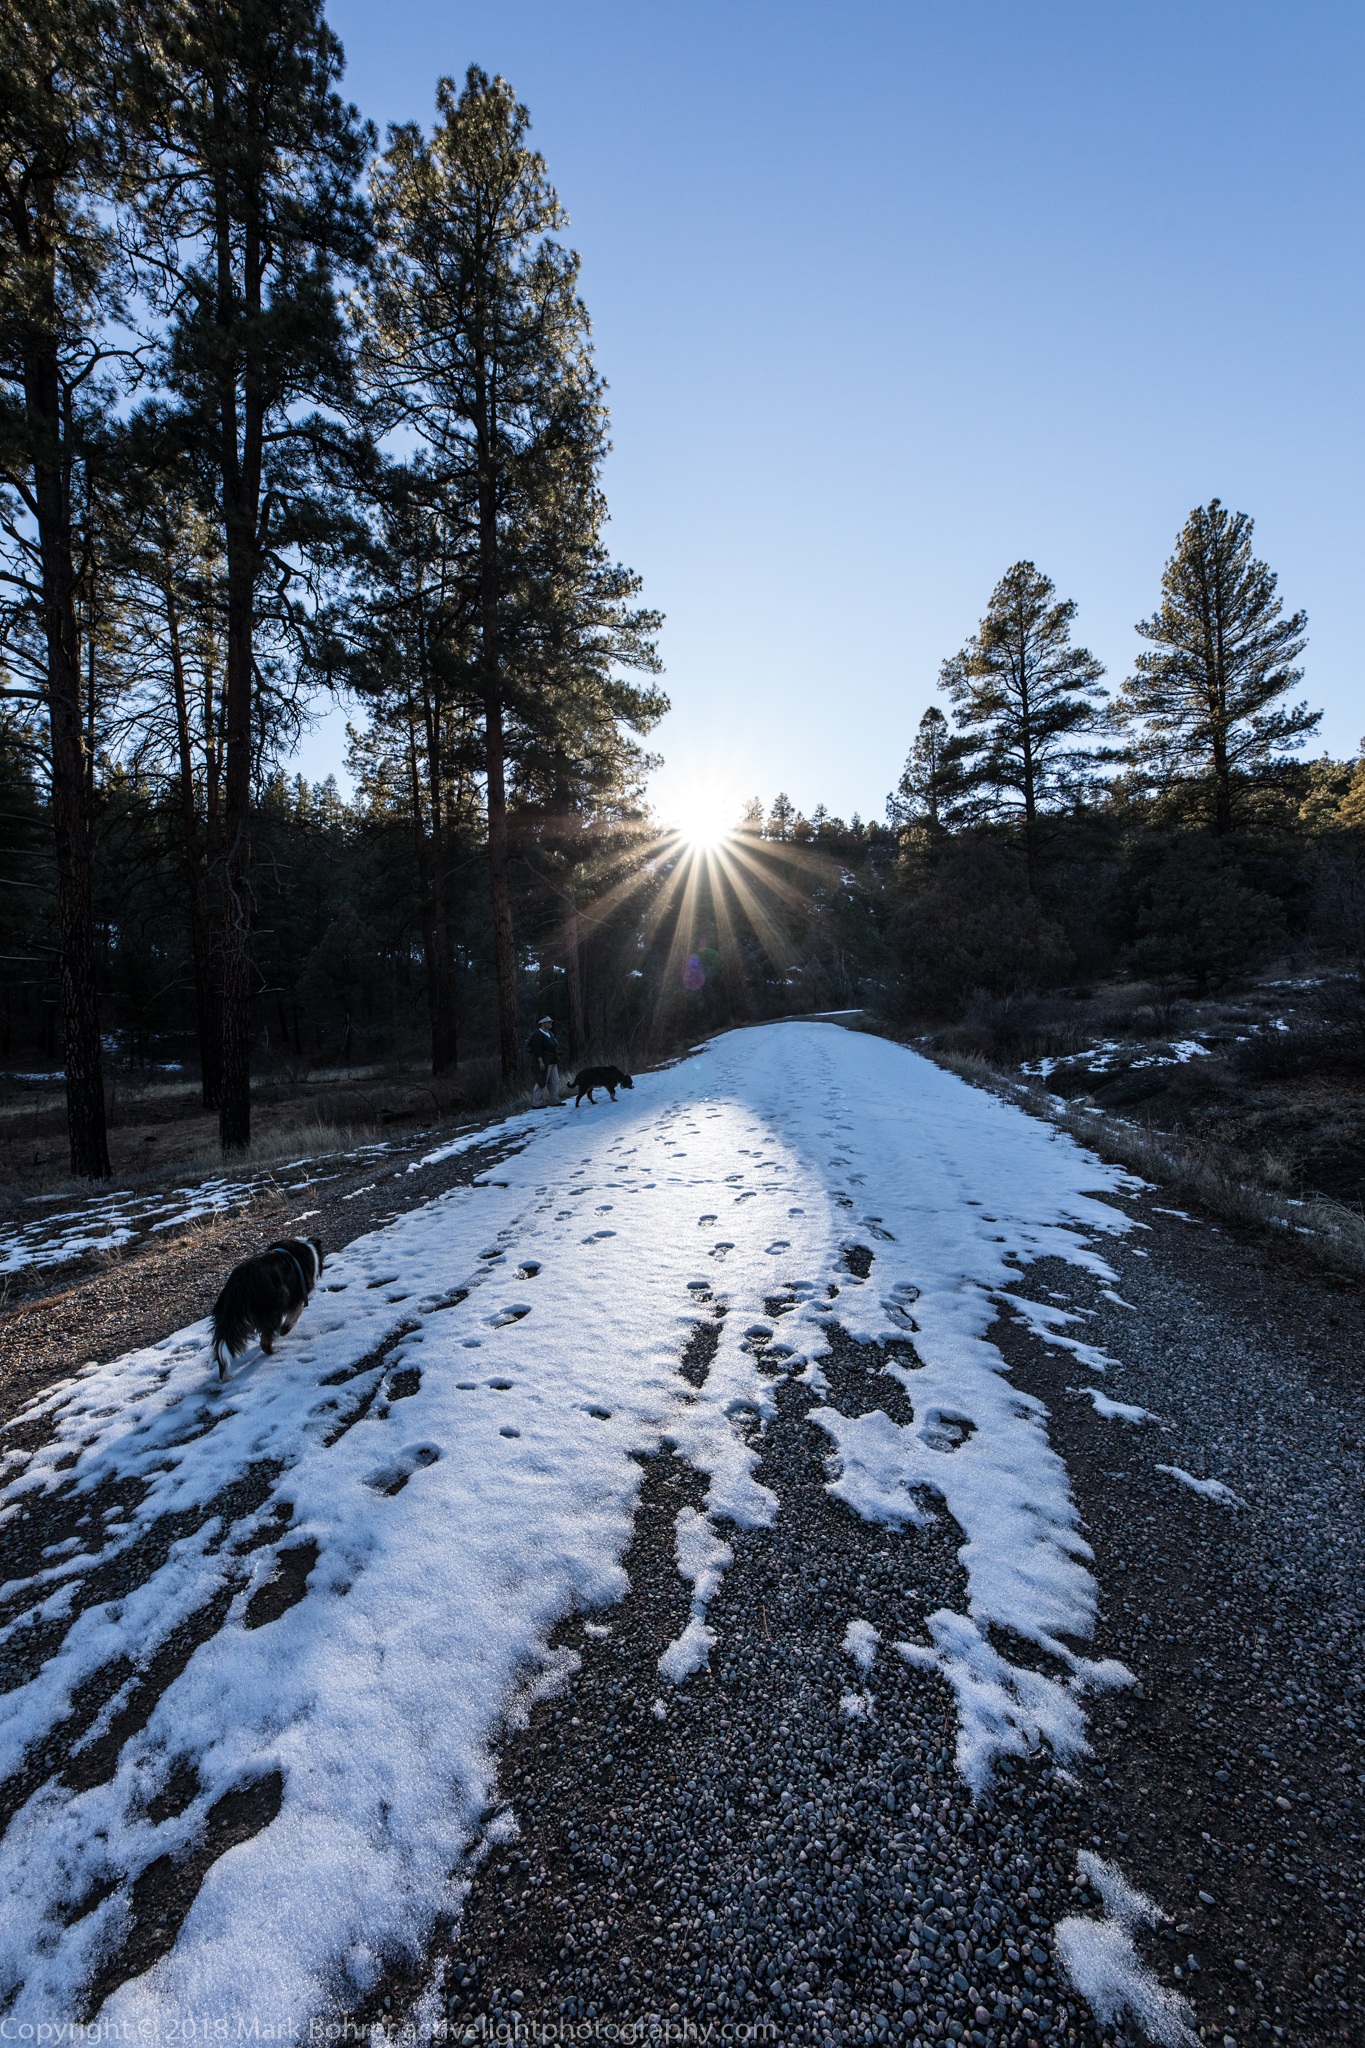 Buzz heads up towards Chimney Rock – Sigma 14mm f/1.8 DG HSM Art I’d purchased a Sigma 14mm f/1.8 DG HSM Art lens for night photography on an EOS 5D mk IV camera, but was pleased to discover the 14mm’s compelling ultra-wide view in daytime as we headed up the trail. After a great dinner and conversation at the bar in Pagosa Springs’ Alley House Grille, we drove back to our now-dark site at the Pagosa Riverside RV Campground. I hooked up the RV’s electric power and we walked our dogs for the last pee of the evening. Then I prepared for some starfield photography. 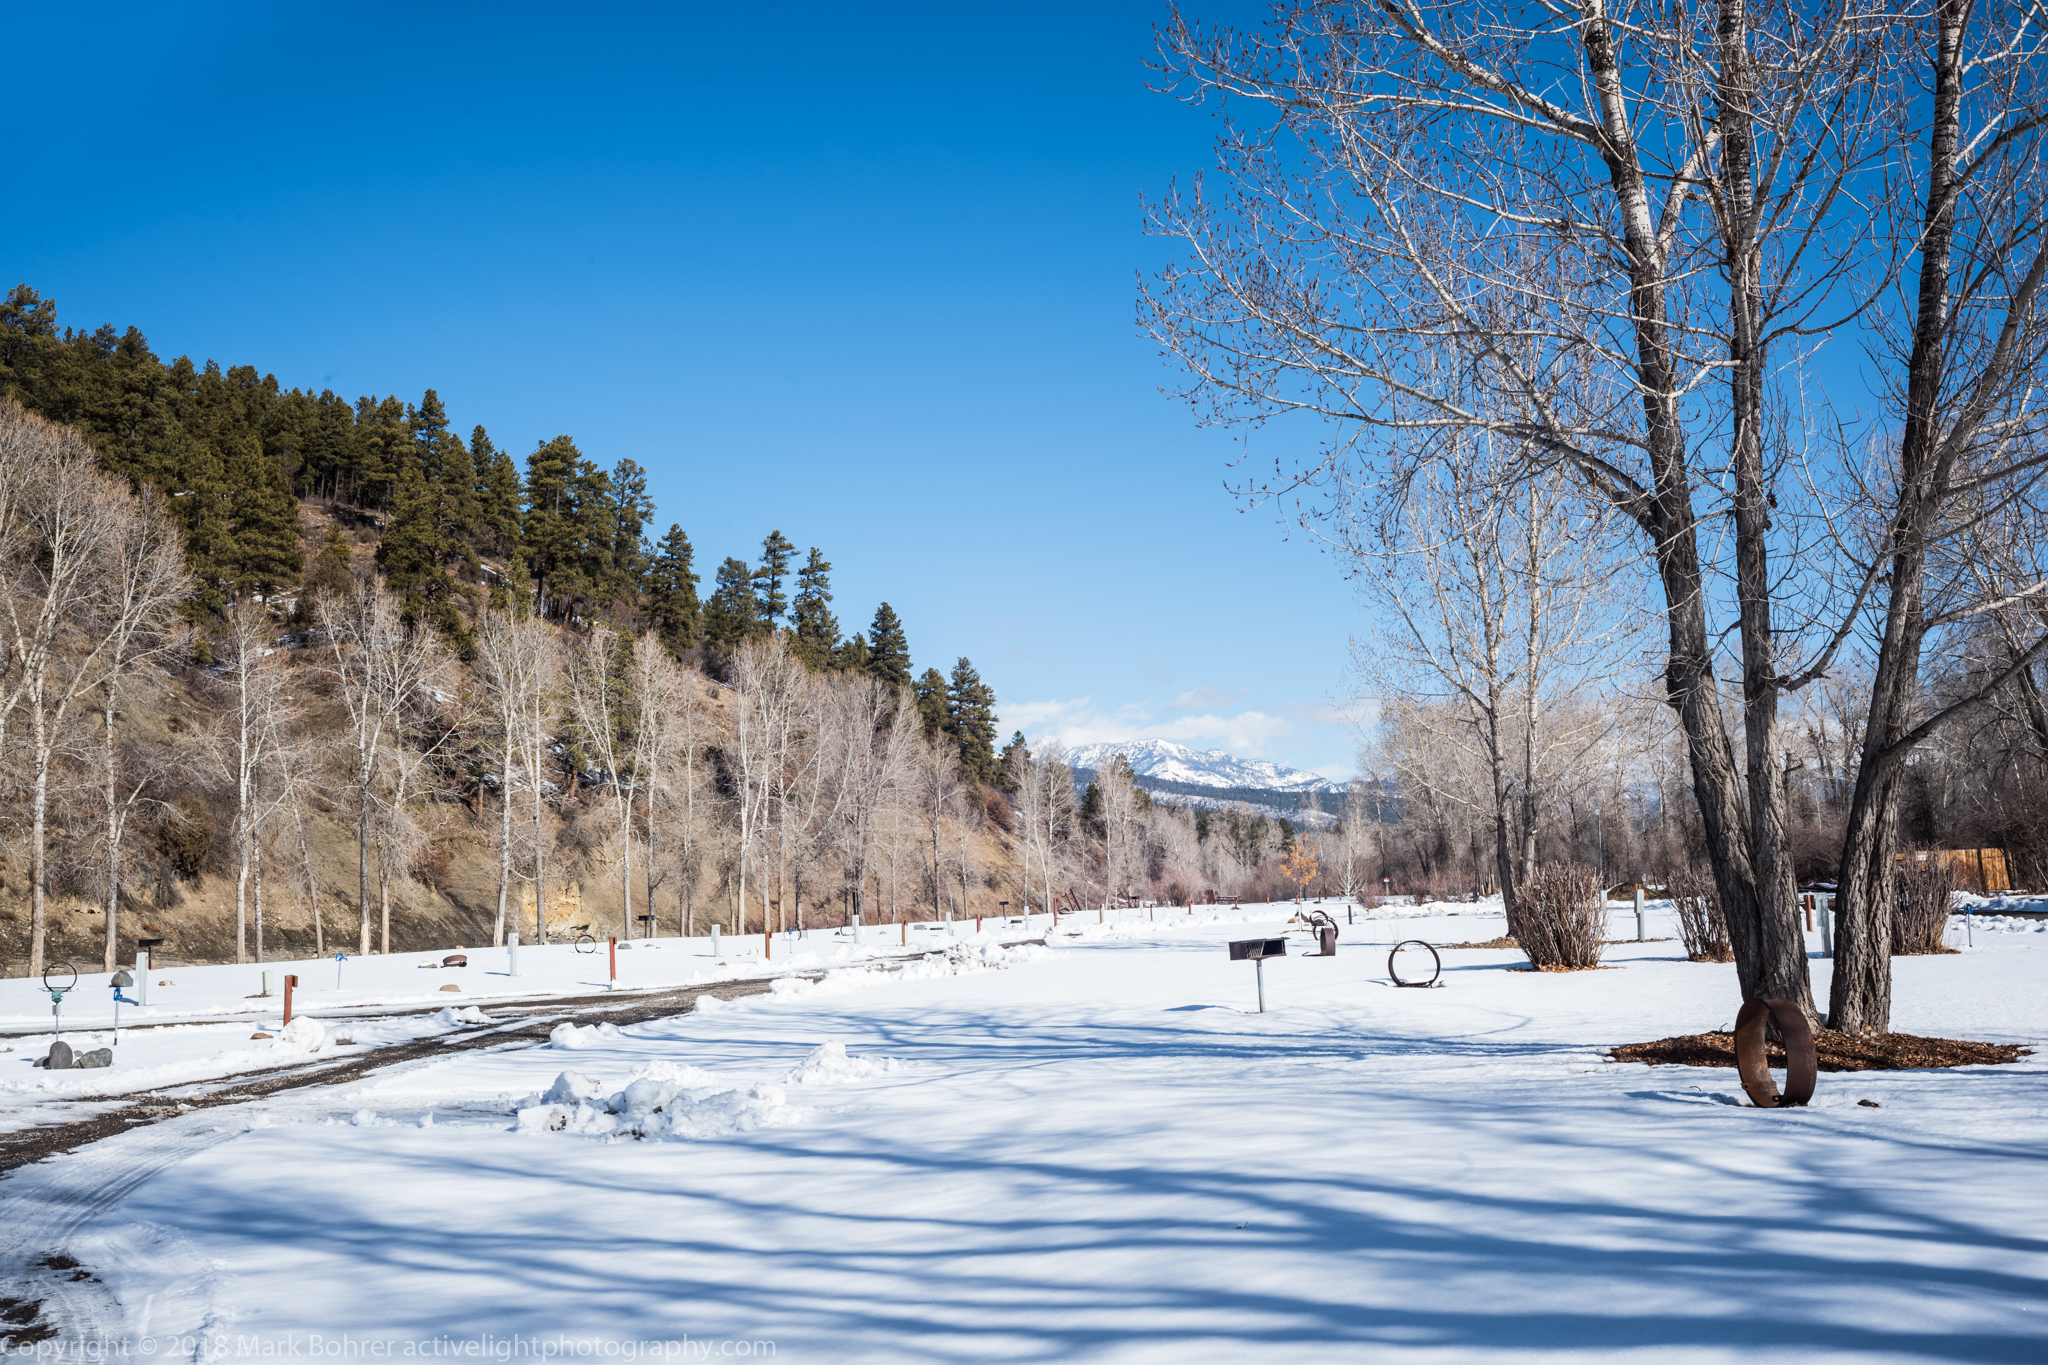 Looking north on a snowy February day at Pagosa Riverside Campground Leica M10, 35mm f/2 RF Summicron 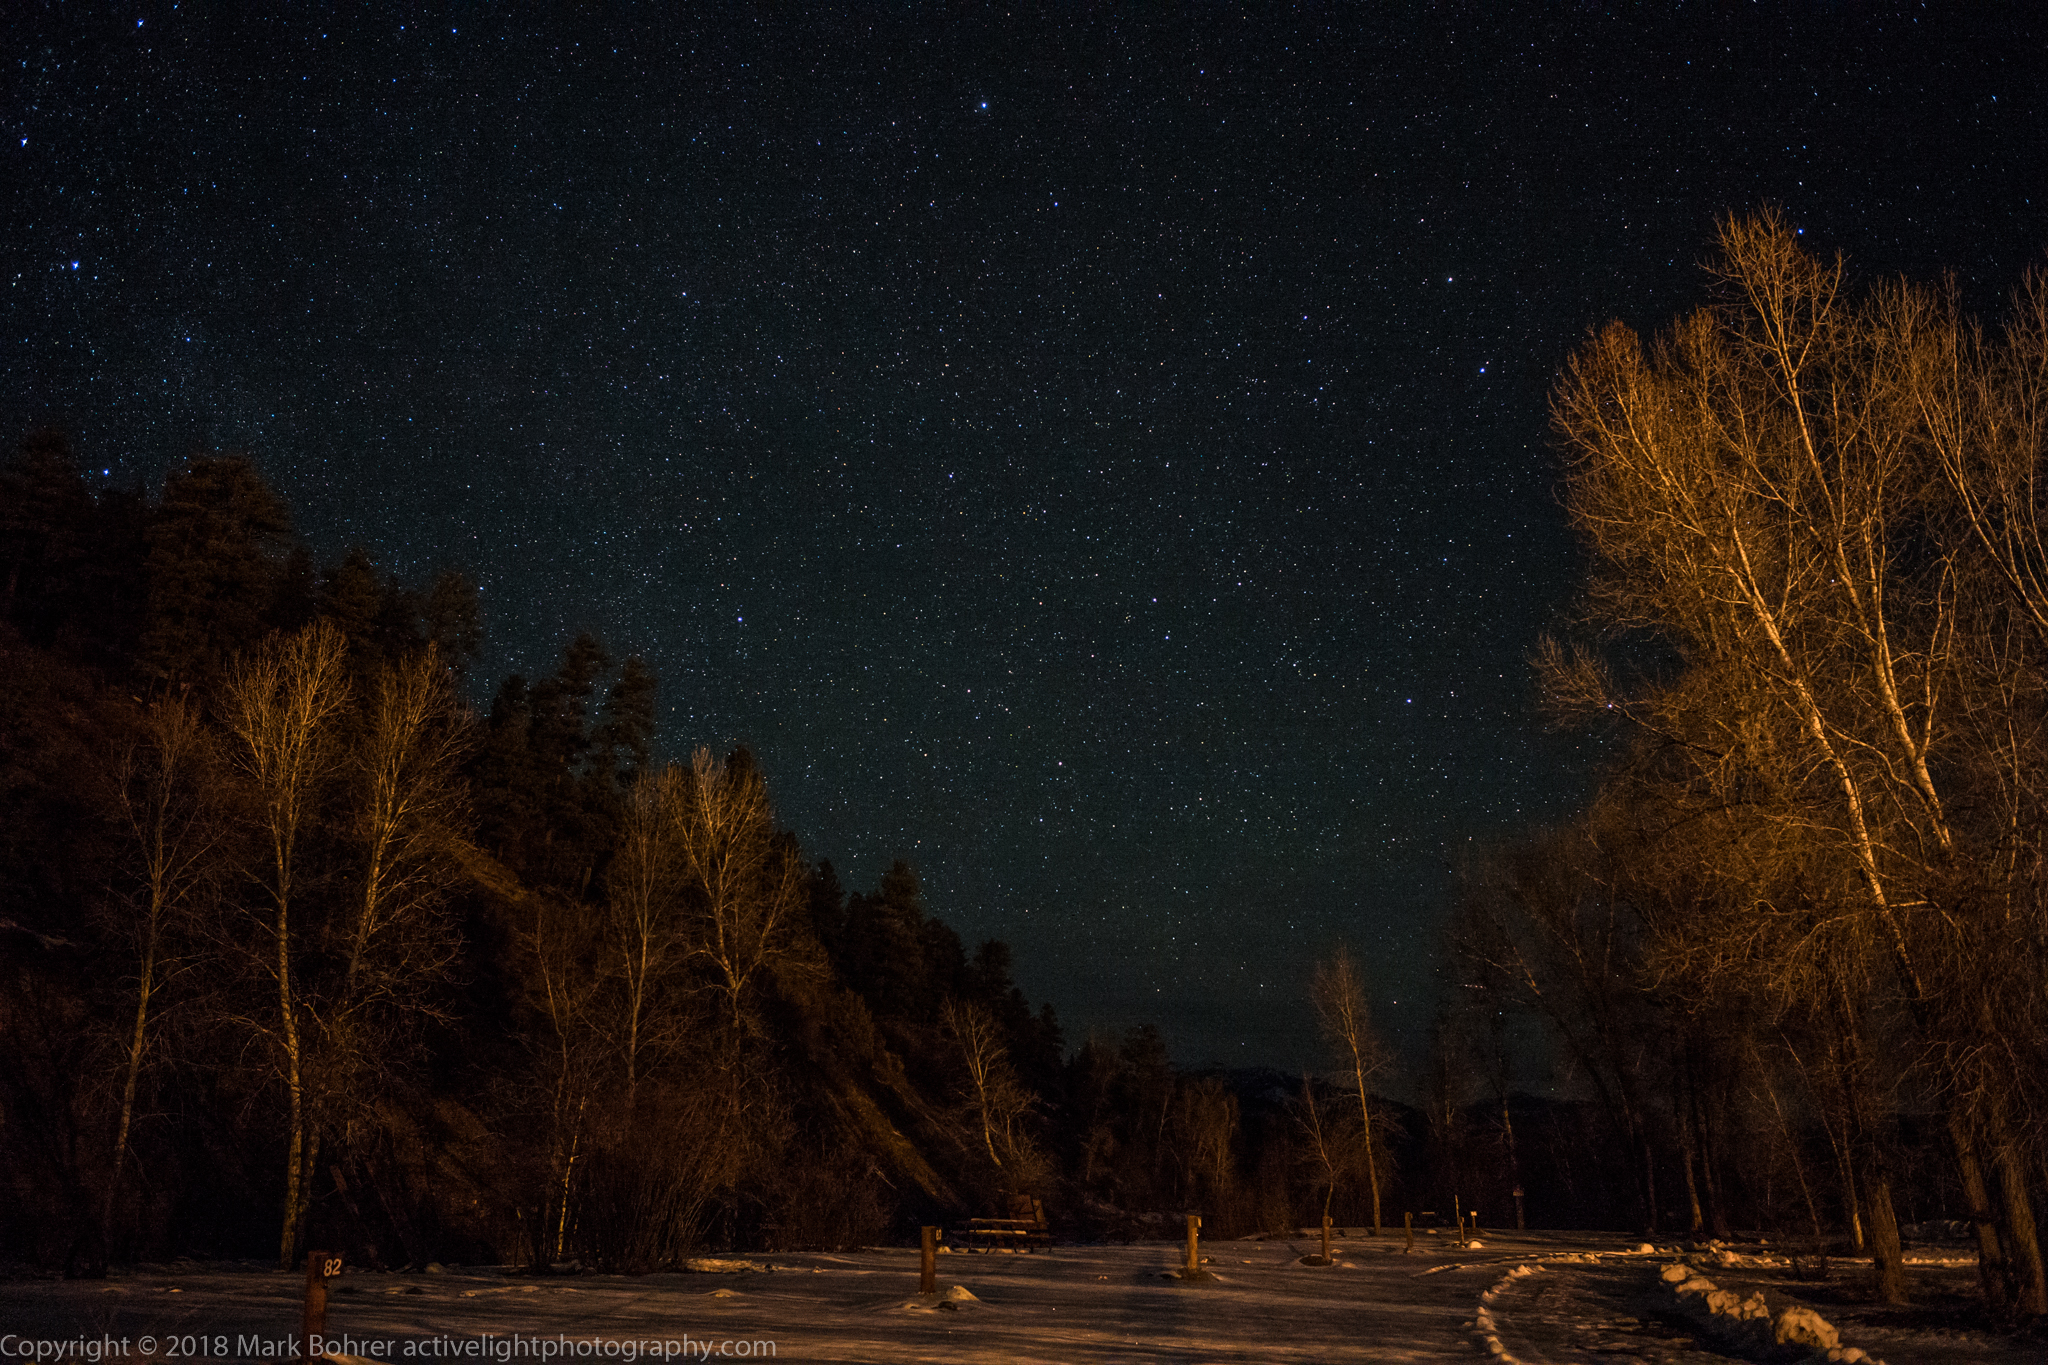 Looking north, roughly the same point as the daytime shot Pagosa Riverside Campground – Leica M10, 28mm f/2.8 Elmarit-M ASPH No Milky Way in Winter First off, the Milky Way core rises above the horizon in the U.S. only between March and October. It wasn’t an option in February, with Earth facing away from it during winter nights. But there were a million other stars overhead. The campground wasn’t completely without lights. The campground office had plenty, and there were a few well-lit neighboring houses uphill from the river. I walked away from the brightest of these, and set up camera and tripod. Even with the residual brightness, it was still way darker than my Albuquerque neighborhood. Which Camera? Which Lens? Most interchangeable-lens cameras made within the last three years provide usable images at ISO 6400 or below. By usable, I mean the image noise is relatively low. After all, you want to see a starfield’s points of light in pictures, not a bunch of random noise speckles. Cold temperatures give lower noise, so below-freezing winter nights would help. I knew exposures would be between 4-8 seconds at f/2.8, based on prior experience at ISO 6400. So a camera with timed speeds that long was another requirement, along with a manual shutter mode. I also needed to be able to set lens aperture manually. If you use the camera’s automatic exposure modes, it will try to make it look like daylight and overexpose everything. This may cause blown highlights, even with -3 EV exposure compensation in aperture priority. How do I know this? Yup, you guessed it. So after those mistakes, I shoot in manual. Preparation Before I even stepped outside, I made sure the 14mm lens’ autofocus was turned OFF, and set the focusing ring to infinity. Like many autofocus lenses, the Sigma focuses beyond infinity to allow for camera variation. It’s kinda like an amplifier that goes to 11. This is necessary with third-party lenses, since they’re reverse-engineered to work with a major manufacturer’s camera, not designed for the camera by the manufacturer. Infinity focus may not happen at the infinity mark on the focusing ring for some conditions, but pre-testing showed my lens reached infinity focus as marked. I also knew batteries wouldn’t last as long in the cold. I made sure batteries in both cameras were fully charged before I walked out the door. Since my exposures would all be 8 seconds or less, I’d be done long before I ran out of juice. It may seem obvious, but I was dressed in multiple layers for warmth standing around, with my favorite fingertipless gloves. These let me manipulate a camera while my hands stay (mostly) warm. I used my Petzl mountaineering headlamp in its red light mode to see where I was going, and look at camera settings. Using red light preserves your night vision, so your eyes don’t have to get re-acclimated to the dark every time you turn the headlamp off. I’d also made sure its rechargeable AAA batteries were charged up. Choose Exposure With The 400 Rule I wanted stationary stars in my pictures, not star trails. I also wanted the foreground landscape sharp. This means an untracked camera setup at a shutter speed fast enough to avoid star trails. Yes, there are German equatorial trackers which move your camera in sync with the earth’s motion, keeping the starfield stationary. But the tracker will blur the landscape as it moves the camera. So how short does the exposure need to be to keep the earth’s motion from creating star trails in your picture? If you were looking at a scene through 7X35 binoculars, every little movement of your hand jiggles the magnified image. But your naked eye sees a relatively stationary image. Similarly, a 50mm or longer lens tolerates a lot less jiggling and motion than a wide-angle lens. So you can get away with a lot longer exposure with the wider lens. A current rule of thumb for the maximum exposure without star trails is Max exposure in sec = 400 / (focal length mm). Exposing Big Sky I wanted a pretty big chunk of sky. That’s why I chose Sigma’s 14mm f/1.8 DG HSM Art lens. This lens has some residual aberrations (mostly batwing elongation of stars, or coma) in the corners at f/1.8, but it’s pretty sharp and contrasty from the center out to most of the frame. For a narrower chunk of sky, I chose a 28mm f/2.8 I already had on hand. 28mm may not seem like a narrow field at 76 degrees, but it takes in just 2/3 of the 14mm’s 114° view. For the 14mm, I had a maximum 400/14 = 28 second exposure. For the 28mm, I had a maximum 400/28 = 14 second exposure. 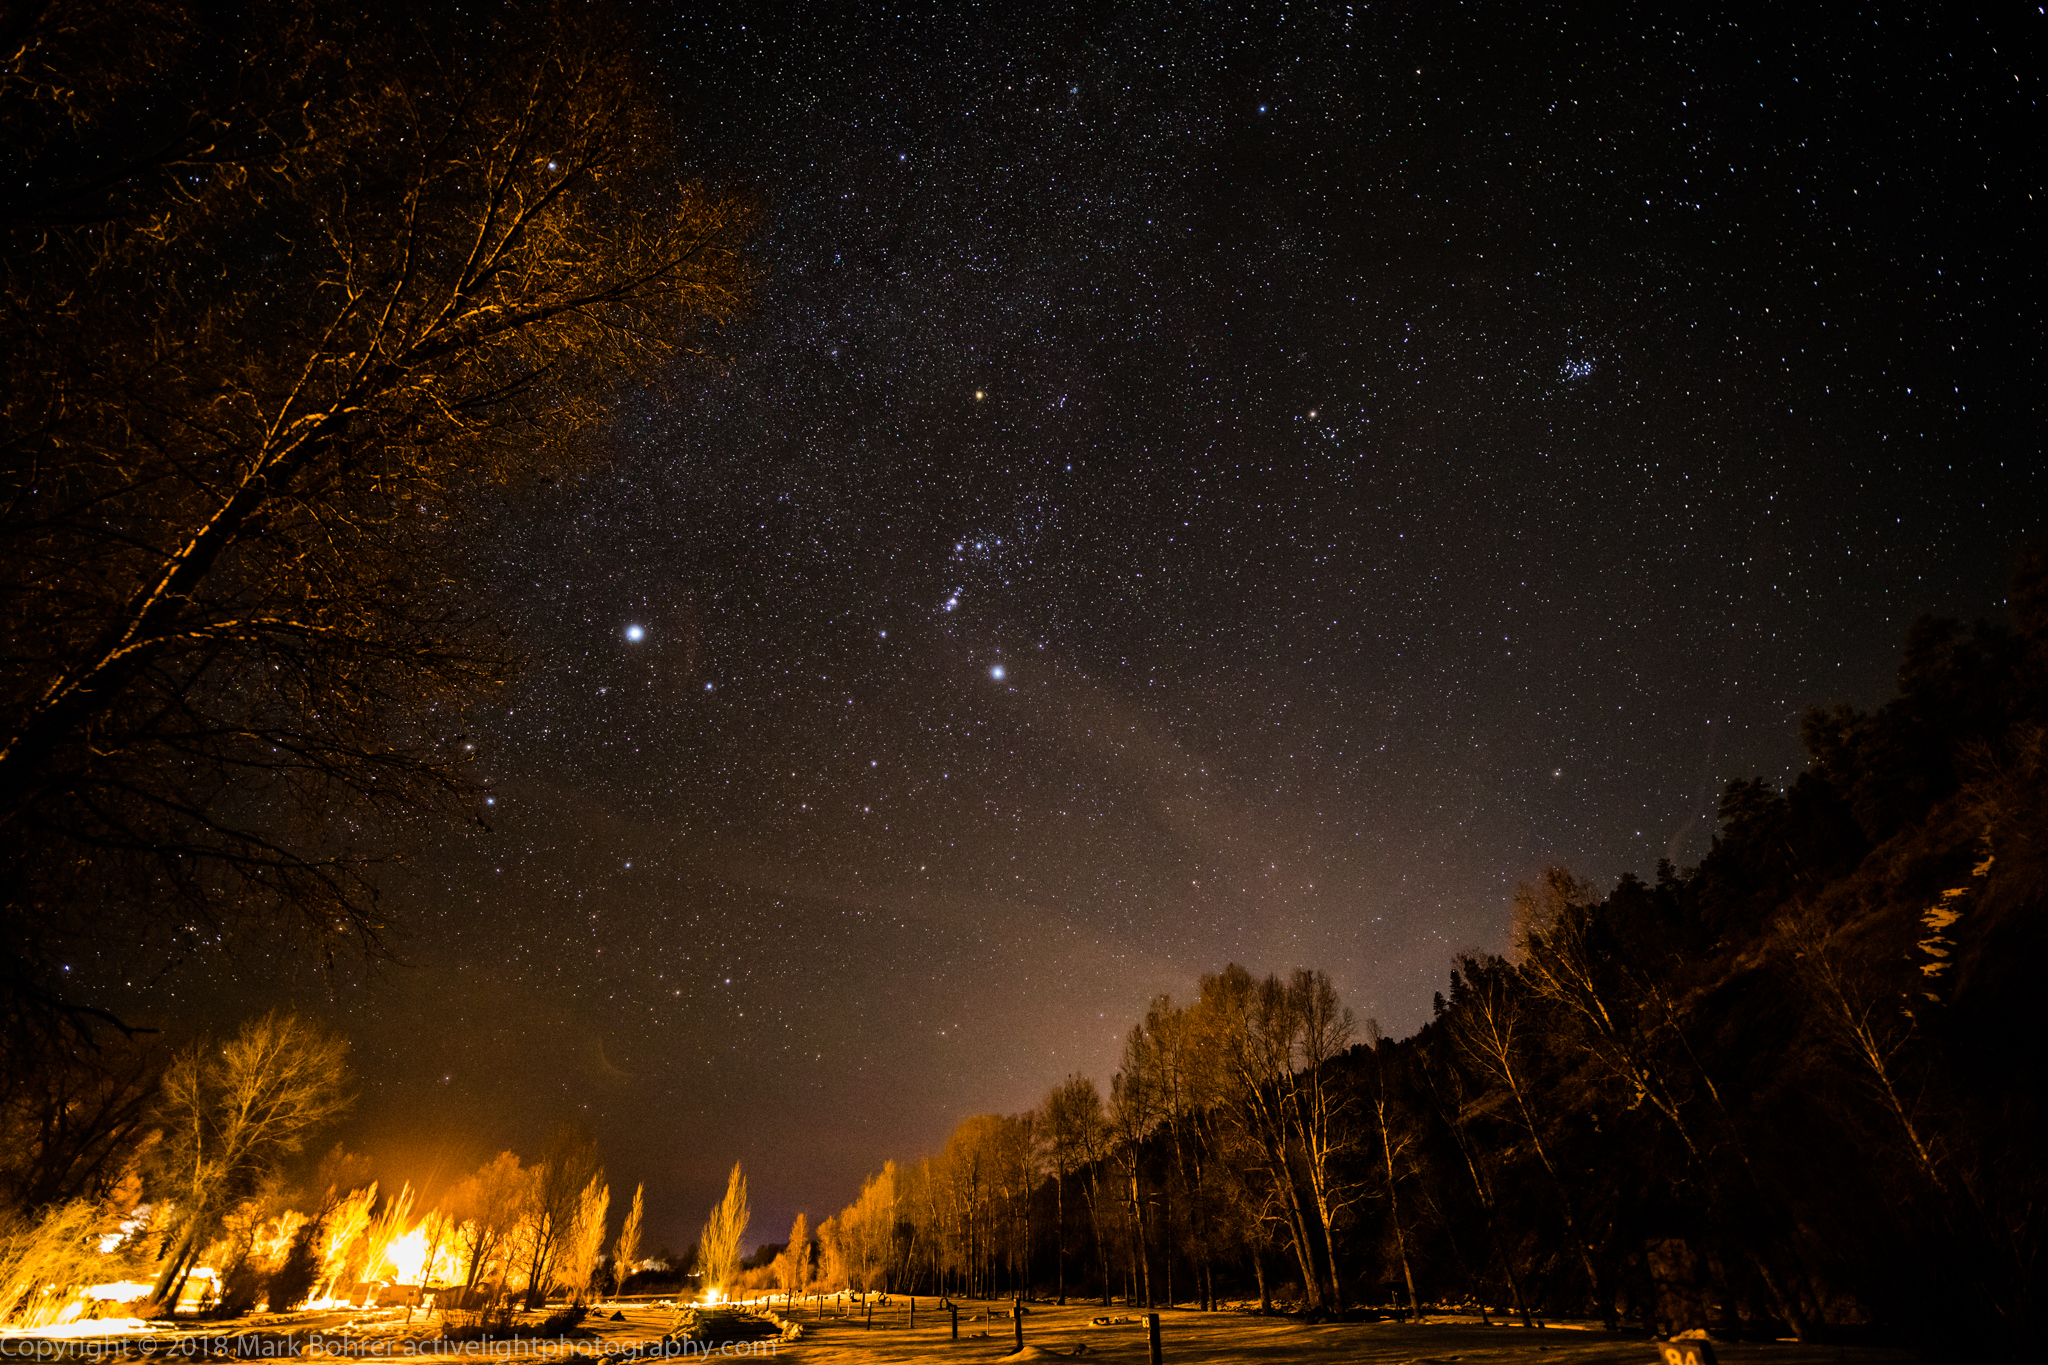 Looking south – Orion at center, Pleiades star cluster (M45) at right Pagosa Riverside Campground – EOS 5D mk IV, Sigma 14mm f/1.8 DG HSM Art After that, I started with exposure times the camera suggested for ISO 6400. I found out I could dial ISO down to 3200 with the scene in front of me, and still get realistic light levels with an 8 second exposure at f/1.8. I was lucky the bright foreground gave me a relatively short exposure time – longer exposures also add noise. With the EOS 5D mk IV and 14mm f/1.8 on the tripod, I was ready to compose the picture. I forgot the right-angle finder attachment for the 5D mk IV, but even bending down to look through the finder, it was pretty dim. I roughly positioned the relatively bright foreground line down low, double-checked my exposure, and shot. I also checked the bubble level in the tripod head’s mount before each shot. I’d remembered the EOS cable release, a must to avoid camera shake from pressing the shutter button on the camera.  Big sky looking southwest – Pagosa Riverside Campground The streak is an airplane up very high. EOS 5D mk IV, Sigma 14mm f/1.8 DG HSM Art Shooting Stars – Chimpin’ It A check of the 5D’s LCD told me exposure was slightly too much, but also that I had too much foreground. So I loosened the ballhead, tilted the camera up, shortened exposure time to 6 seconds, and tried again. This time I got what I wanted. I’d pre-visualized foregrounds with the forested ridges to the west and the trees bordering the north and south, so I knew what I was shooting for. I hadn’t really known what the ambient light levels from eastern-side houses and buildings would be, only that I’d be far enough from (and below) the lights from the town of Pagosa Springs for reasonably dark skies. I didn’t check the histogram of the scene, but if I had, it would have shown me light values pushed to the left shadow-tone edge, with a hump sloping to zero at far left. That’s what you want – a vertical cliff all the way left usually means lost shadow detail. As it was, I had a little room to reduce exposure as I enhanced contrast, rendering a scene a little more like what my eyes saw. 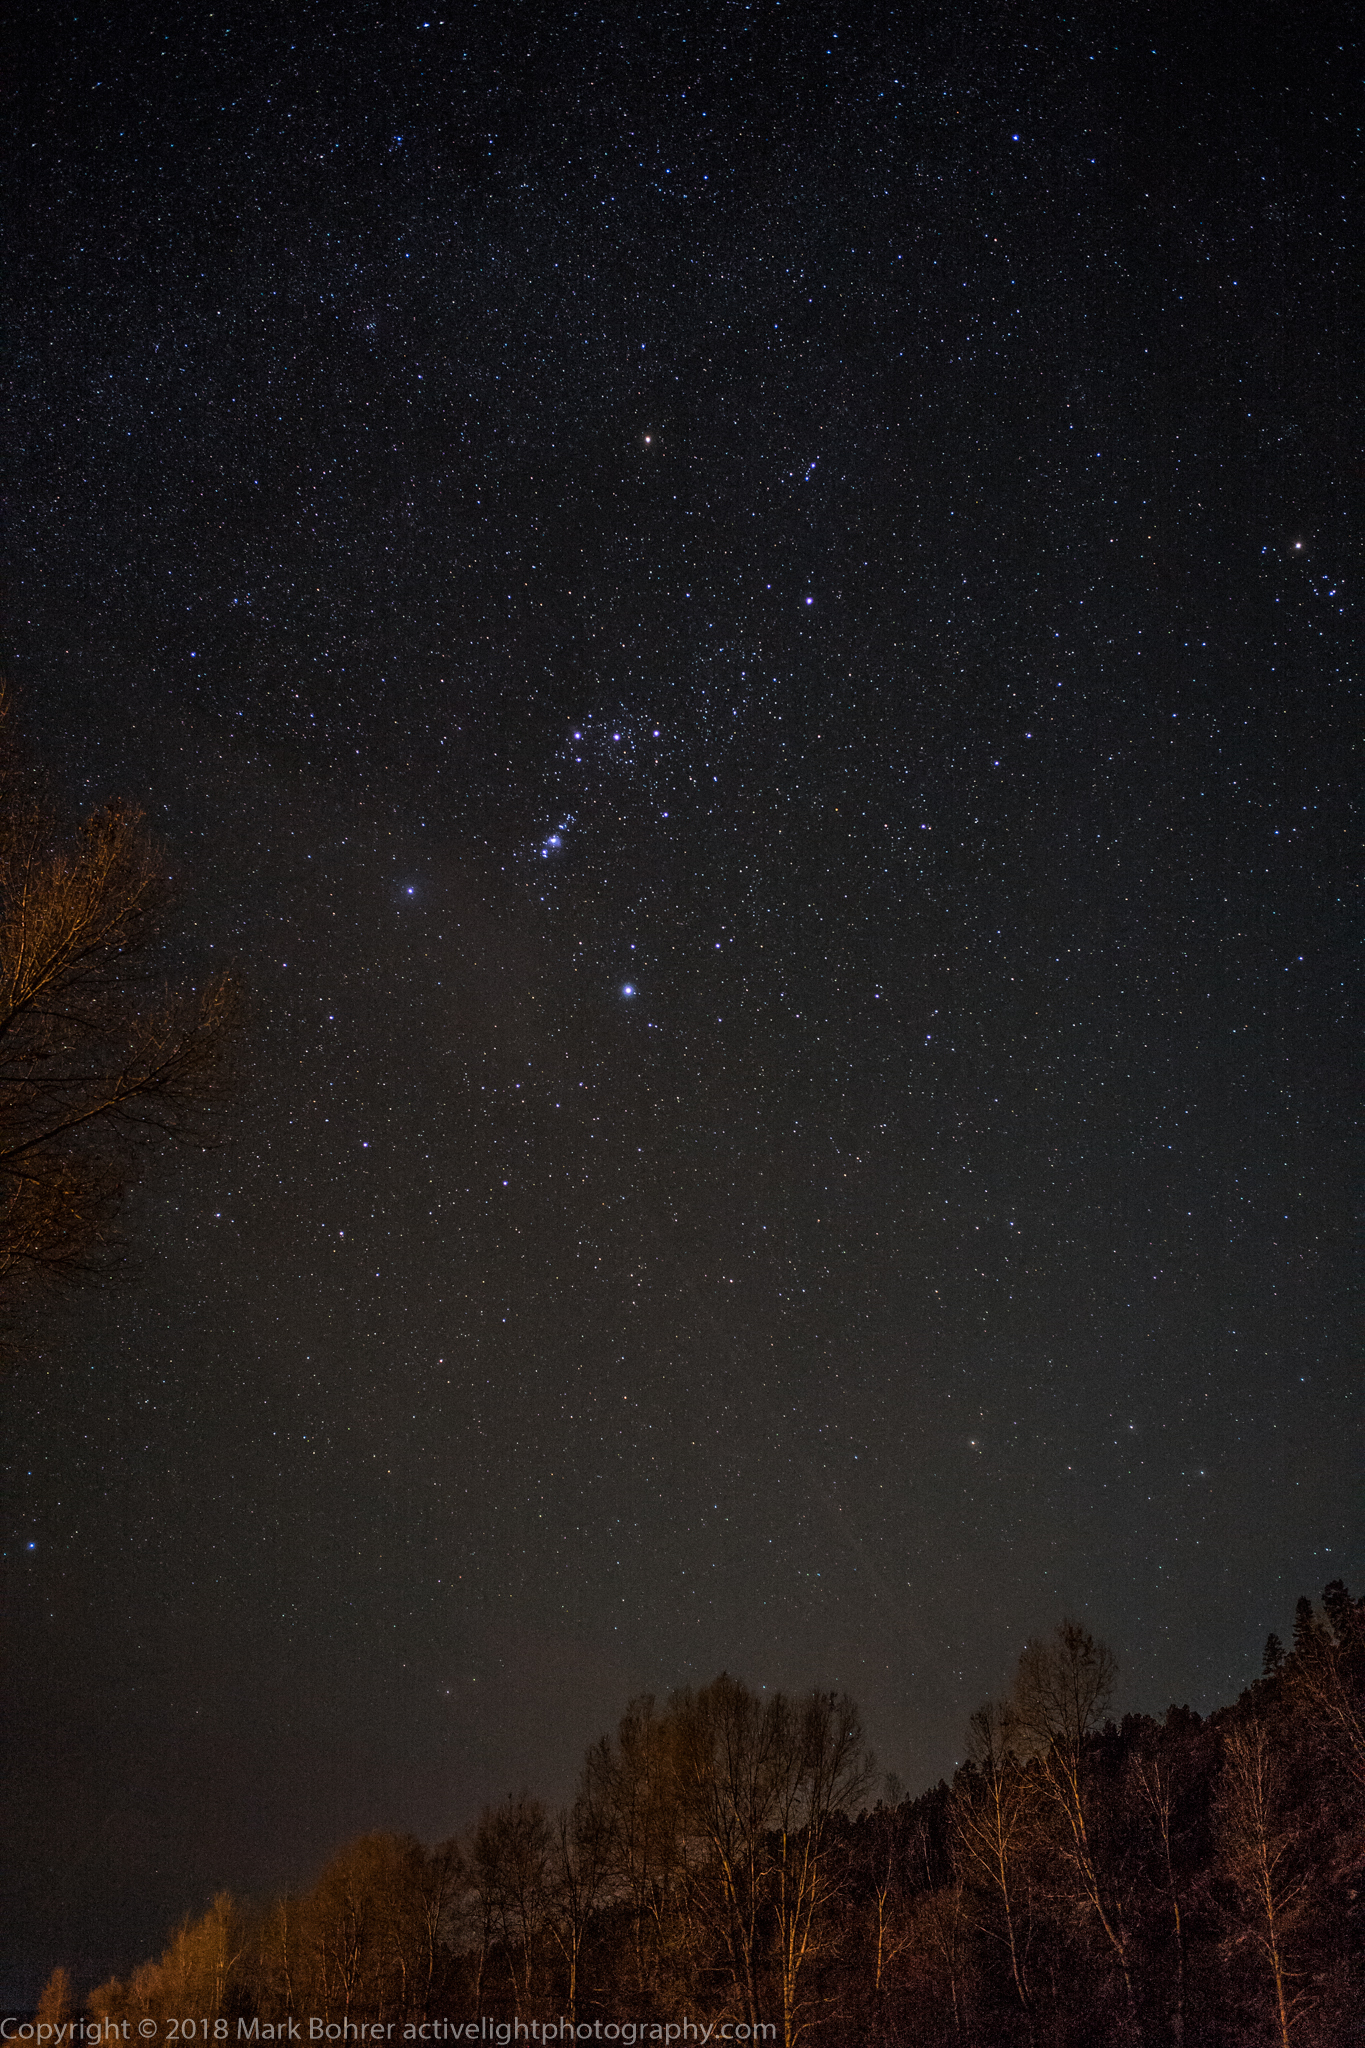 Orion in big-sky south view – Pagosa Riverside Campground Leica M10, 28mm f/2.8 Elmarit-M ASPH So the basic display told me I had some good stuff. I shot several pictures in different directions, preserving the lower snowy foreground – something familiar to entice a viewer’s eye into the picture. Then I changed up cameras to the Leica M10 with the 28mm lens. Exposure was going to be at least 2.82 times longer at ISO 3200 with f/2.8 vs f/1.8, a 1.5 EV difference. So I increased ISO to 6400 for an 8 second exposure at f/2.8. From my previous testing, the M10 got pretty noisy at ISO 12500, so I didn’t want to go that high. I forgot to bring the cable release for the M10, so I set it for a 2 second delay before exposure. That’s long enough for any vibrations caused by my finger pressing the shutter to die out. After aiming in the three most promising directions for around 250 pictures with two cameras and two different fields of view, it was time to leave the quiet winter night for the warm RV. I was excited about my very first starfield captures. Shot Notes Use your histogram. I would have known I could increase exposure without blown highlights in most shots if I had. Exposing slightly more than I did would have given more shadow detail, and less noise after reducing exposure in post. And test your camera for noise at high ISO. I knew I could go to ISO 6400 and maybe 12500 with the EOS 5D mk IV. But the Leica M10 showed noise banding at 12500, staying fairly clean at 6400 and below. My best bet was trying for ISO 3200, which worked with the f/1.8 lens on the EOS 5D mk IV. With the slower f/2.8 lens on the M10, I had to go up to 6400 for a short-enough exposure. The M10 also restricts you to a maximum 8 second exposure with B at ISO 6400. It probably does this to keep the densely-packed camera electronics and sensor from overheating in warm summer temperatures, but it’s annoying and unnecessary in winter. You also get more noise the longer your shutter is open, something you can usually remedy a bit in post. I wish Leica would trust us photographers a little more… The Canon EOS 5D mk IV has no such exposure restrictions (thanks for treating us like mature adults, Canon!). It also includes a menu selection to disable long exposure noise reduction (LENR), which otherwise doubles the exposure time. Leica doesn’t allow you to do this with either the M10 or SL cameras.  Light-painted barn, Jackson, WY Nikon D1H, Sigma 15-30mm f/3.5-4.5 DG EX Gabriel Biderman and Lance Keimig have books and video instruction to help you get started shooting after dark. Their CreativeLive videos pointed me at a fast 14mm lens, the 400 rule for trail-free exposure, and more possibilities in light-painting. I was already light-painting with flash to light up architectural features at sunrise, and had done a little painting with flashlights at the iconic barn outside Grand Teton National Park in Wyoming, but there are way more possibilities out there. Look for more of it in future posts. More Information Biderman, G. (2014) Night Photography: From Snapshots to Great Shots. San Francisco, California: Peachpit Press. Keimig, L. (2016) Night Photography and Light Painting: Finding Your Way in the Dark, Second Edition. Milton Park, Abingdon, UK: Focal Press. Night Photography Fundamentals, CreativeLive / Gabriel Biderman, 2015, https://www.creativelive.com/class/night-photography-fundamentals-gabriel-biderman?via=autocomplete. Astro Landscape Photography, CreativeLive / Lance Keimig, 2016, https://www.creativelive.com/class/astro-photography-lance-kreimig?via=autocomplete. Carnathan, B. (2017) Sigma 14mm f/1.8 DG HSM Art lens review. Retrieved from https://www.the-digital-picture.com/Reviews/Sigma-14mm-f-1.8-DG-HSM-Art-Lens.aspx Latallo, M. (July 4, 2017) Lens Review: Sigma A 14mm f/1.8 DG HSM. Retrieved from https://www.lenstip.com/506.7-Lens_review-Sigma_A_14_mm_f_1.8_DG_HSM_Coma__astigmatism_and_bokeh.html |
A Night Sky of Your Very Own
Recent Comments