|
My first photos were attempts to document life in black and white, and later in color. I shot without thinking about magic hour light – I was where I was when I was. Why High-in-the-Sky Sun Sucks Your eyes see a much-wider zero to 1 million range of light than even the best digital sensor has any hope of capturing raw. When the sun is higher in the sky, that range is even greater, and your camera has almost zero chance of giving you what you see. Ask most viewers about the first thing that grabs them, and they’ll point to the brightest spot in your picture. But they’ll ignore featureless black – it might as well not be there. And that’s no way to tell a story. I’m not usually at a travel destination in warm, sunrise-sunset colored light, so I get to deal with harsh light pretty often. Here are my secrets for capturing that mid-day story without killing the details. 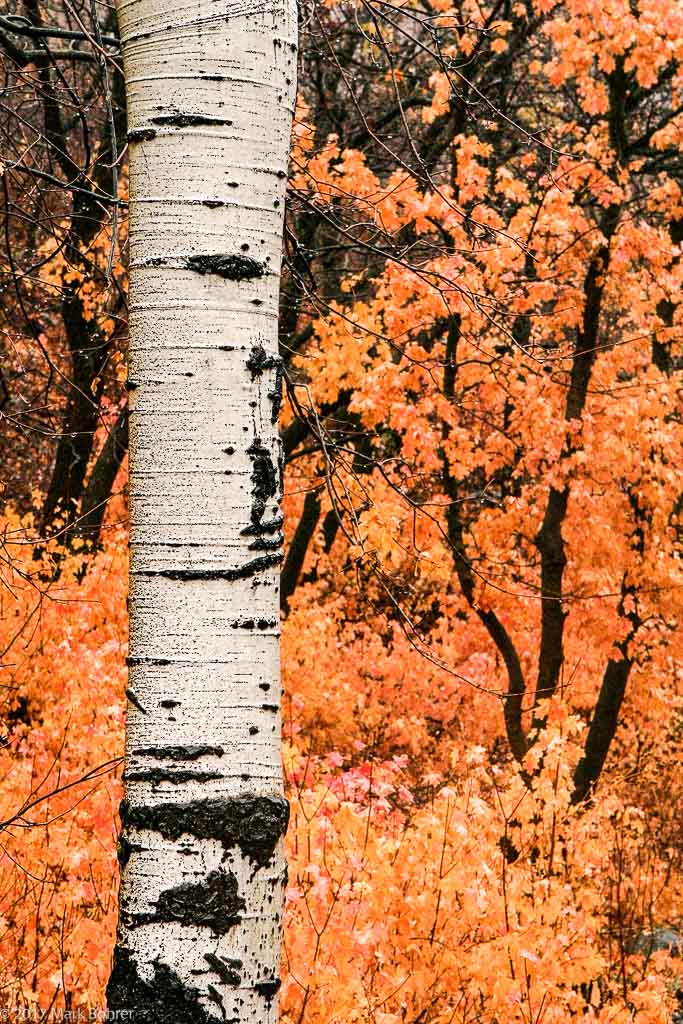 Aspen trunk, Sundance, Utah Closeups Are Your Friend Big, bold landscapes can look great – in good light. But around mid-day they serve up blinding hotspots and black-hole shadows. A change in viewpoint will usually solve this. Look closely at any big landscape and you’ll find less-contrasty chunks that suggest the whole thing. When a viewers see a ruin wall, a tree trunk, or an animal’s face, they fill in what’s not there, especially for familiar chunks like trees. Shooting just the chunk will tell most of the story of a big landscape without blown highlights distracting eyeballs away. You’re also likely to keep important stuff visible in the shadows. At the very least, keep the sky out of those sunny landscapes. Without clouds, it’s just blue – boring and too bright. There’s usually some foreground detail that will contribute more to your story. 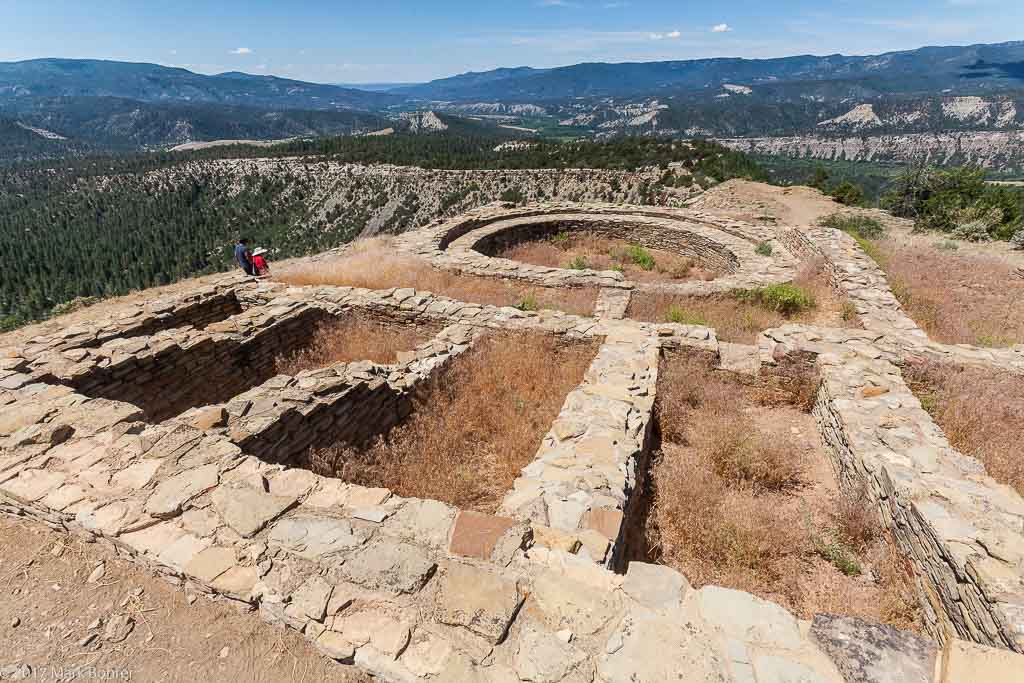 Walls and Great Kiva ruin, Chimney Rock High Sun at Chimney Rock There are only two or three daily time choices for summer tours at Colorado’s Chimney Rock National Monument. I ended up at the summit ruin at 9:30 am on a July day. The sun was already pretty high in the sky. So I picked a classic near-far composition, with nearby stonework and sandstone walls leading my eye towards distant mountains. I didn’t want the blue sky with all that great foreground detail, so I included just enough to look natural. I chose to shoot facing north, with the sun behind me. 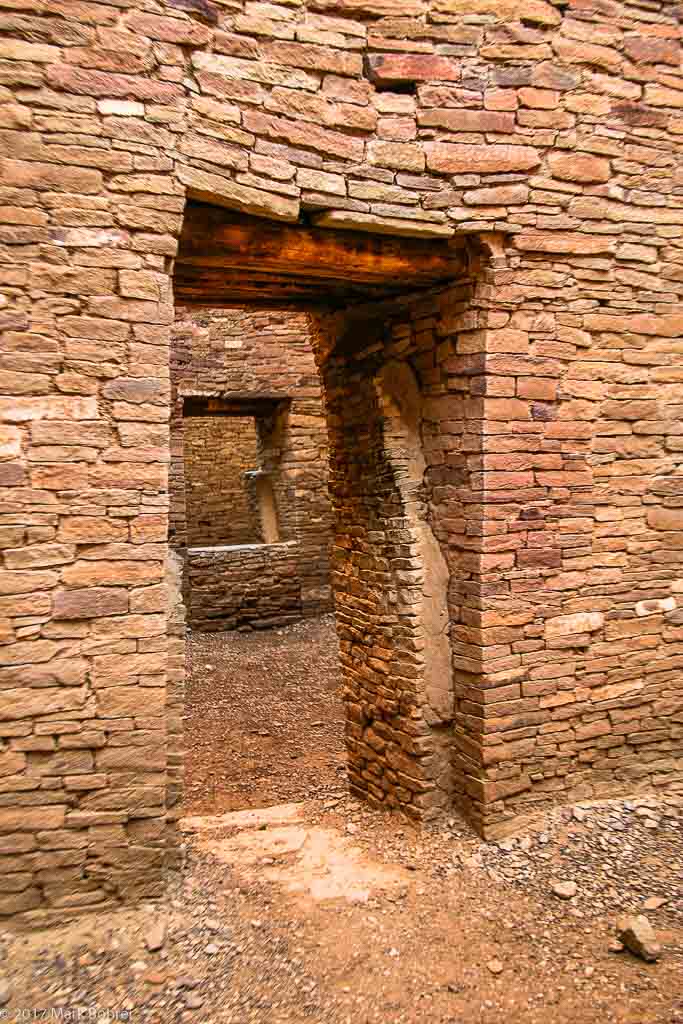 Interior doorways, Pueblo Bonito, Chaco Canyon Go Inside for Shade I know, I know, this is supposed to be about outdoor shooting techniques. Sometimes, you can find indoors outdoors. Ruin walls and rooms can give you a shadowed interior view with light bouncing in overhead. Isolating a ruin wall or doorways will cut the intensity down and give you nice combinations of light and shadow your camera can handle. Arriving at Chaco Canyon the day after Christmas, I used low angle sun and shadowed walls inside ruined Pueblo Bonito to make the shadowed shot above. 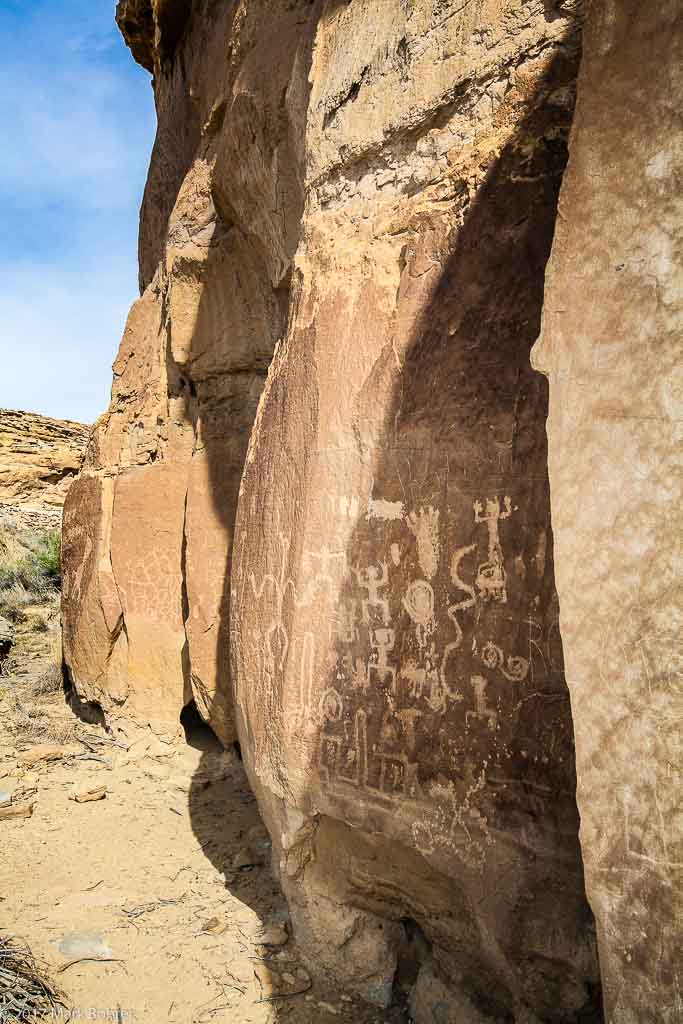 Petroglyphs, Chaco Canyon – flash fill pulled up the shadowed ‘glyphs to make post-processed contrast enhancement possible. Use Flash Your flash won’t overpower the sun, but it can fill in some shadows. Human portraits and some scenics are where you’ll usually do this. I’ve filled ruins and petroglyphs to bring them out of the mud, and also flash-lit a skunk after hours. I don’t recommend that with most wildlife, though. 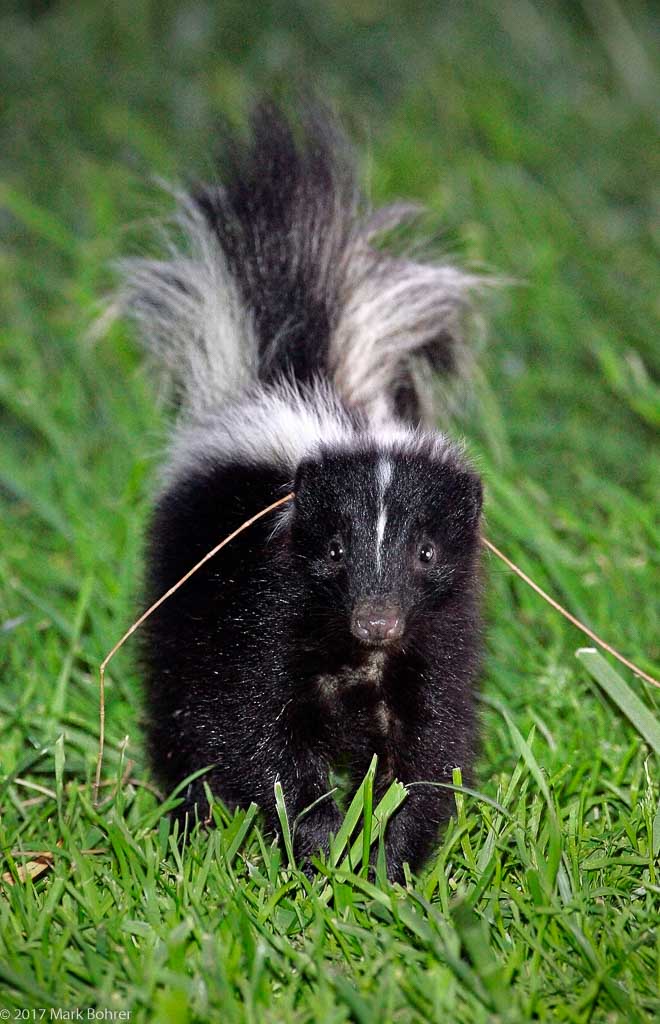 Flashed skunk surprise, Shoreline at Mountain View, California Go Slow In daylight, you need a shutter speed slow enough to let your flash expose the whole picture. At slow speeds, your camera’s shutter exposes the entire sensor completely – first one curtain opens all the way, then the second one closes. But for faster speeds, the first curtain opens and before it can move all the way to one side, the second curtain starts to close. The sensor sees the slit between them moving across at high speed. Flash duration is so short that you’d only expose your sensor in one strip for fast shutter speesds. So you set your camera for a slower speed when both curtains are fully open to expose the entire flash-lit scene. Most cameras have a red arrow, lightning bolt or red-outlined speed to set this maximum, the sync speed. Pick Your Speed With ISO You’ll use a low ISO to give you the slow shutter speed you need. Most cameras’ sync speeds are at least 1/160 second, so you can still handhold the shot. Dial It Down Your camera will try to expose the shot as if flash were the only light source. That usually looks unnaturally bright. Most cameras let you dial down flash exposure. On Canon dSLRs, you set it by pressing the ISO * +/- icon, then turning the back dial to choose what you want. I’ll set anywhere from -1/3 to -2 stops lesws flash to avoid broiling a subject. You camera will choose a flash duration for underexposure that’s compatible with the available light. Your camera has a separate exposure compensation, unaffected by the flash compensation. If you leave exposure compensation alone, you should get a flash-filled shot with a natural-looking background. Choose Late Fall to Early Spring You don’t always have a choice of travel time, but choose late fall to early spring when you can. The sun crosses the sky on a lower southern path then, making light and shadows less harsh. Vacationing during the Christmas break let me take advantage of this regularly. Shooting raw is another secret weapon. Compared to JPEG, the default format used by most cell phones, you’ll get 64 times more contrast range. 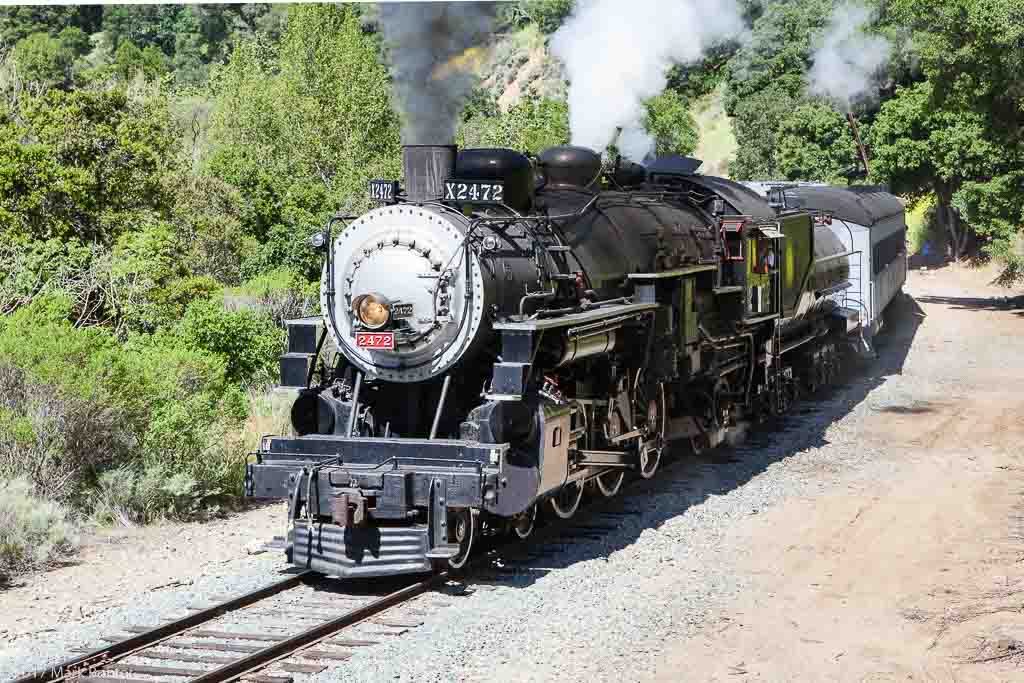 Locomotive closeup, Niles Canyon Railway, Fremont, California More Information Capability of the human visual system, accessed from http://www.itcexperts.com/wp-content/uploads/Capability-of-the-human-visual-system.pdf Chimney Rock National Monument, accessed from http://www.chimneyrockco.org/ Chaco Culture National Historical Park, accessed from https://www.nps.gov/chcu/index.htm The horizontal traveled focal plane shutter – How it works, accessed from http://www.mir.com.my/rb/photography/fototech/focalplane/ |
(408) 483-3782
Curious about how to shoot ruins?(408) 483-3782
Recent Comments