|
Nights Are Getting Warmer – Get Out There Spring brings warm weather most places – no more frigid night-time conditions or ice to slip on. That means you can pull out the tripod and do some night shots without freezing your tail off. But wait – how do you get your pictures to actually look like you shot ’em at night? And what camera settings – heck, what camera – should you use? 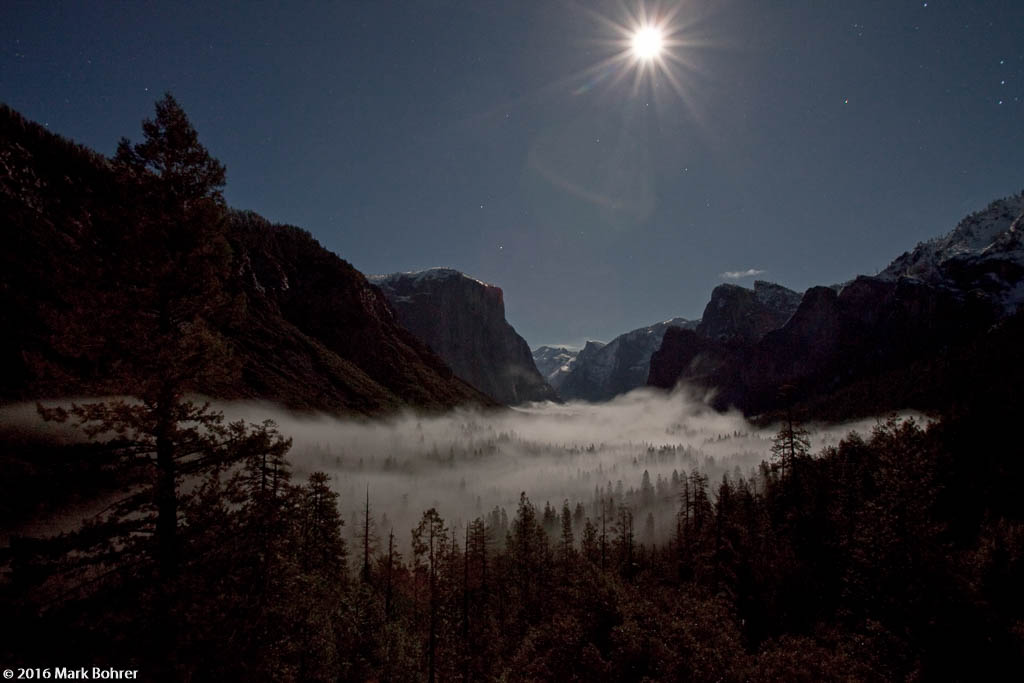 Wawona Tunnel View, Yosemite National Park – full moon Overexposed for foreground detail, f/10 aperture for diffraction sunstar around moon Needed – Great Foreground Features Against Night Sky Good night photography comes from am interesting foreground silhouette against a clear starry sky, away from urban light pollution. Chaco Culture National Historical Park is an International Dark Sky Park, a place where you can look up and still see the Milky Way at night. This is ideal. Ruins close at sunset, so you’ll need to camp overnight and get permission to enter ruin sites after dark. You can also get the moon rising through ruin windows in early evening, but expect to be chased out by law enforcement rangers closing up. 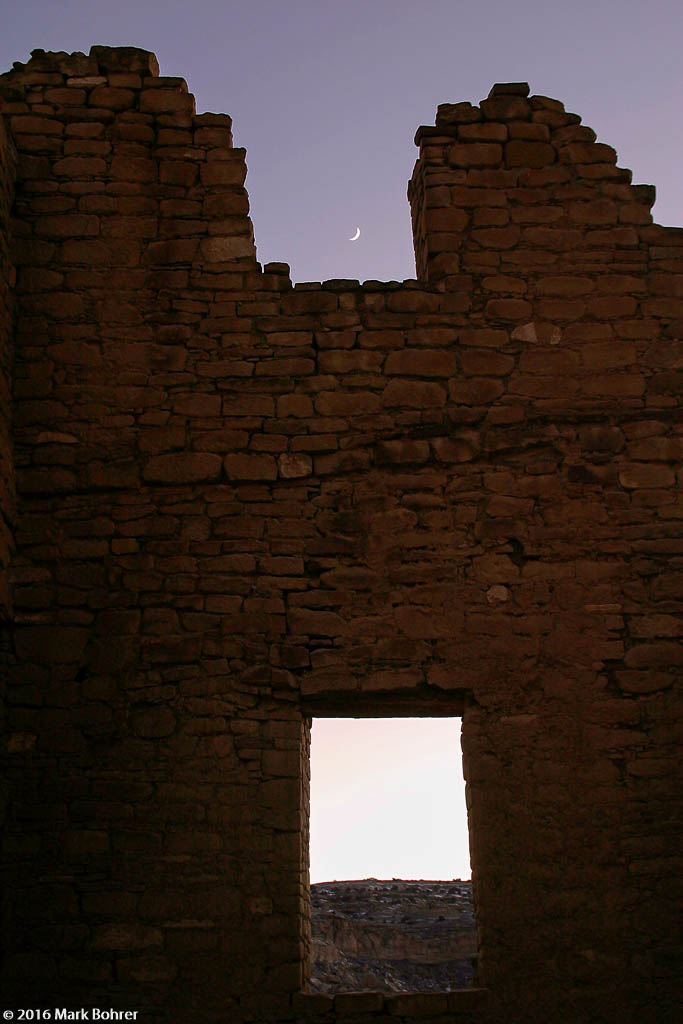 Kin Kletso and moon, Chaco Canyon Shot with near-daylight exposure to show adobe brick detail Equipment You’ll need a recent, low-noise camera, high ISO for shutter speeds below 5 seconds, solid tripod, and a cable release. I used a Leica 50mm f/1.4 Summilux-M on a Fuji X-E2 for the image of Fajada Butte below. I mounted the camera on a Gitzo 1127 tripod for stability. I experimented with different exposure times using the camera’s B shutter setting. I also let the camera choose shutter speeds with about 2 1/3 stops underexposure dialed in. I forgot the cable release, so I had to use a steady finger on the shutter button. Check Camera Noise At High ISO First, test your camera at its highest ISO in low light. Most recent dSLRs produced in the last five years will give you reasonably low-noise results. But check to see the highest ISO acceptable to you from your camera. Underexpose So It Looks Like Night I shoot nearly everything with aperture priority. For night scenes, I’ll dial in 2 to 3 stops of underexposure to give a dark sky that looks like what I’m seeing. Since the camera wants to make everything look like 18% gray, that underexposure is needed to avoid rendering the sky blue. I’ll check the shutter speed to be sure it’s faster than 3 seconds. This keeps stars sharp and unstreaked, unless I really want circular star trails. To get that shutter speed, I’ll sometimes use manual exposure settings, especially with my older Leica M8. Aperture Choice Is Flexible Choose an aperture yielding the depth of field you want, consistent with the less than 3 second exposure. For most night scenes, you’re likely to want depth of field from 10-20 feet to infinity. This usually gives you more flexibility in your aperture choice. 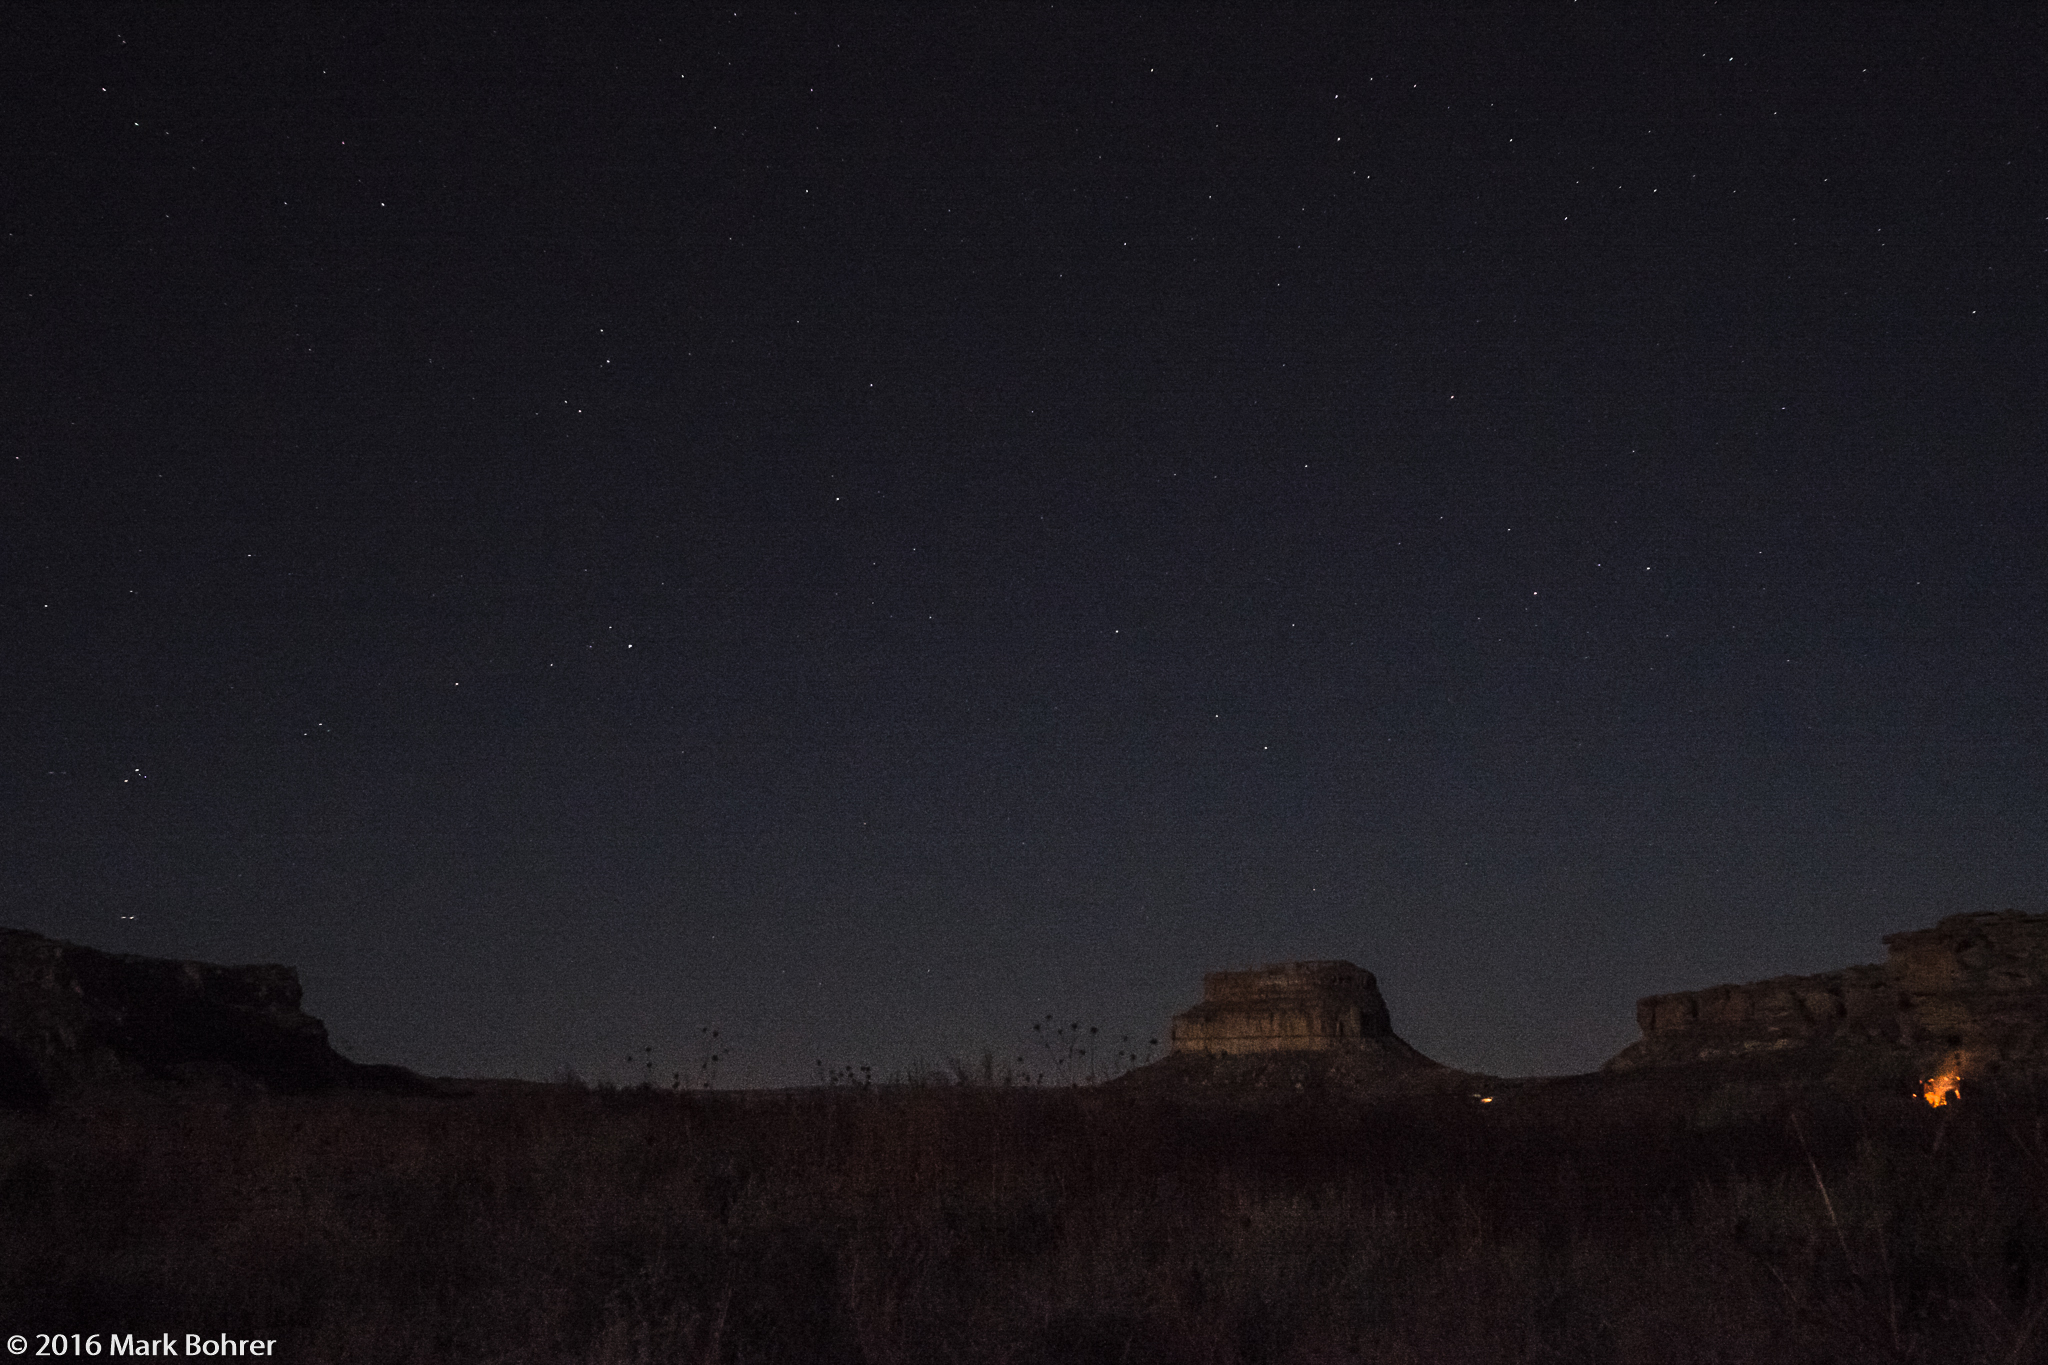 Fajada Butte from Gallo Campground, Chaco Culture National Historical Park Shooting The Moon – Without Playing Hearts When you’re trying for detail in the moon, you need to remember it’s reflecting full sunlight. So 1/2 to 2 stops under a full daylight exposure will be a good starting point. For moonrise above an interesting feature like a mountain, best time is just after sunset, when your foreground is still lit. For lunar eclipses or night sky lunar detail, you can expect pictures showing the moon and bright pinpoints of stars against featureless black. 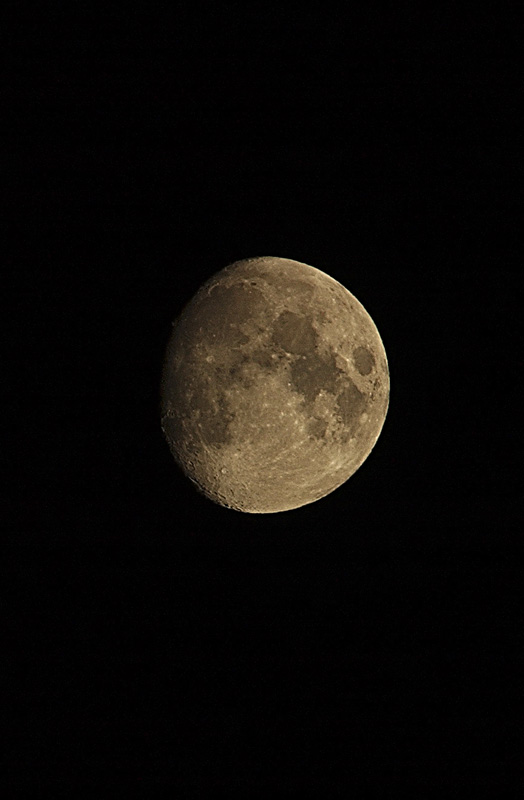 Moon detail, Saratoga, California I recommend against using photoshop to place your perfectly-exposed moon over an impossible late-afternoon scene. To most people you show it to, that just looks fake. If you’re into photographic art, go ahead, but label your picture art – it’s not really a straight photograph. That should keep Ansel Adams’ ghost away during those beautiful moonlit nights. |
(408) 483-3782
Curious about how to shoot ruins?(408) 483-3782
Recent Comments