|
First, a disclaimer – nothing written here shall be construed as advice for viewing a solar eclipse. The information is for amusement purposes only. You use it at your own risk. I am not responsible for any equipment damage or injury you may incur with any use of this information. With that out of the way, we can actually have a little fun… 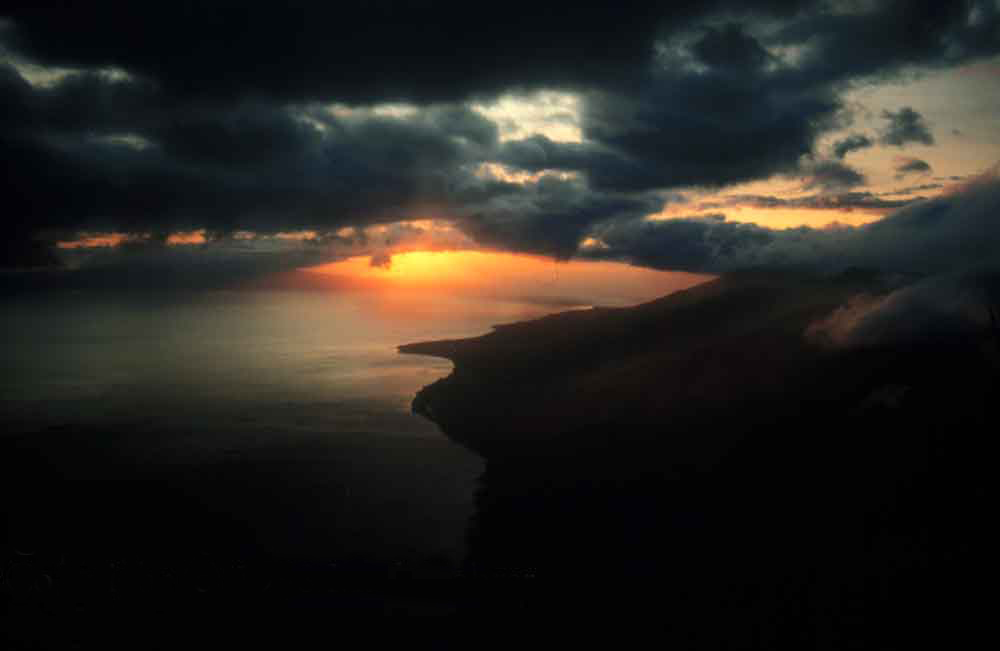 Maui aerial sunset the day before the eclipse, July 10, 1991 The folks at Crookneck Apps weren’t content with showing sun and moon positions for any calendar date/time and location in The Photographer’s Ephemeris (iOS, Android, desktop/web browser). Nope, they wanted to show what light and shadows would actually look like at those times and locations. Enabled by improvements in tablet computing power and 3D graphics support, they came up with a pretty good predictor of actual light and shadow for any topography. The Photographer’s Ephemeris 3D (TPE 3D) shows you what to expect from the local features, from whatever direction you want. It’s available for Apple / iOS devices only right now. You’ll see the positions and movement of major constellations in the night sky too. It’s nowhere near as good as a dedicated astronomy app like Star Walk 2 for showing planetary motion and constellations, but it gives you enough to predict prominent star and moon positions against terrestrial topography. In the default Flying mode you can adjust your direction, elevation and field of view. Use two-finger twirls to rotate directions, and one finger slides to move your position forward or back. After you’ve got the position you want, switch to the hi-res Enhanced mode by tapping the magic wand icon on your screen’s upper right. Pinch and zoom to your lens’ field of view – you’ll see the full-frame focal length for it at the bottom. My Zeiss 25mm f/2.8 Biogon T* ZM gives me the view of a 37.5mm lens when it’s mounted on a crop-sensor Fuji X-E2 camera. I set up the south-looking view at the base elevation of New Mexico’s Columbine Canyon trailhead in Flying mode. Then I switched to Enhanced mode to see what it would look like through a 38mm focal length. Choosing the Light – Columbine-Hondo Wilderness Using the gross prediction of shadows from TPE 3D, I picked my preferred best time to hike it for the overall light. Of course, when travel plans depend on other people’s desires, you may miss that preferred time and have to deal with what you get. Instead of my planned early morning arrival, we ended up hiking in mid-afternoon. But the sun was far enough away from the zenith that it cast directional shadows, and cloud cover softened the light enough that contrast wasn’t too harsh. 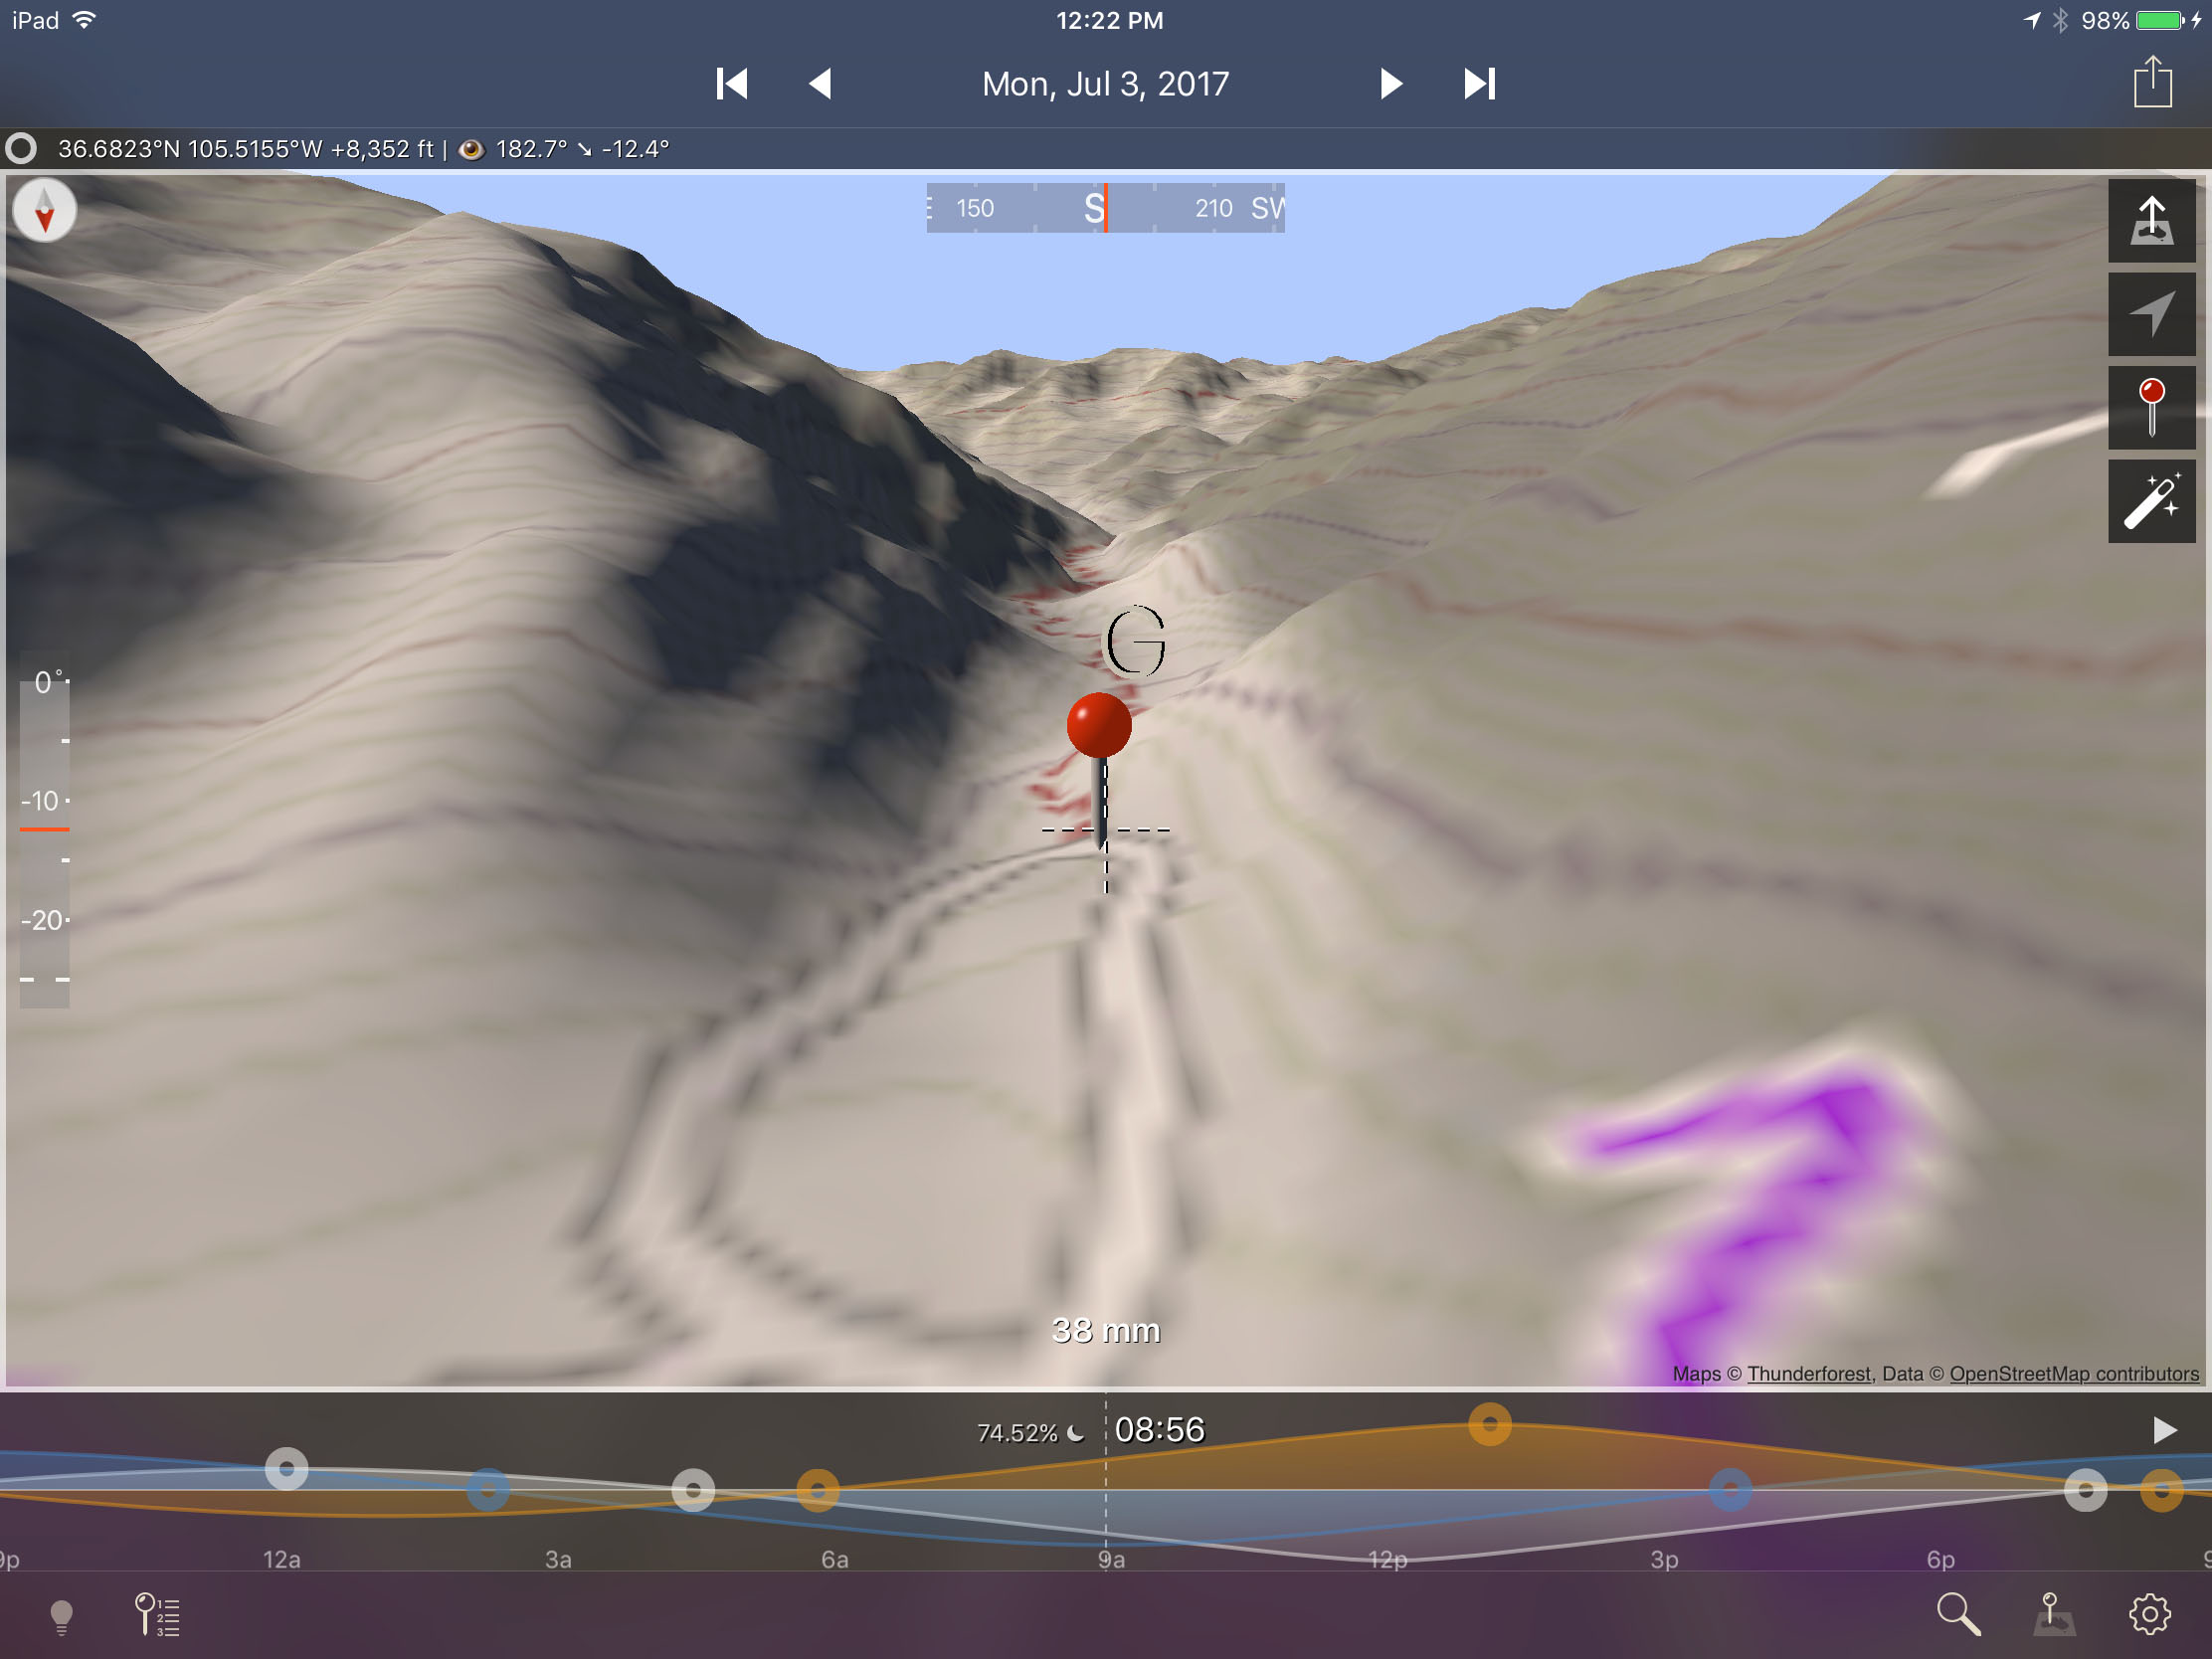 Columbine Canyon Trailhead in TPE 3D – the morning view I wanted… 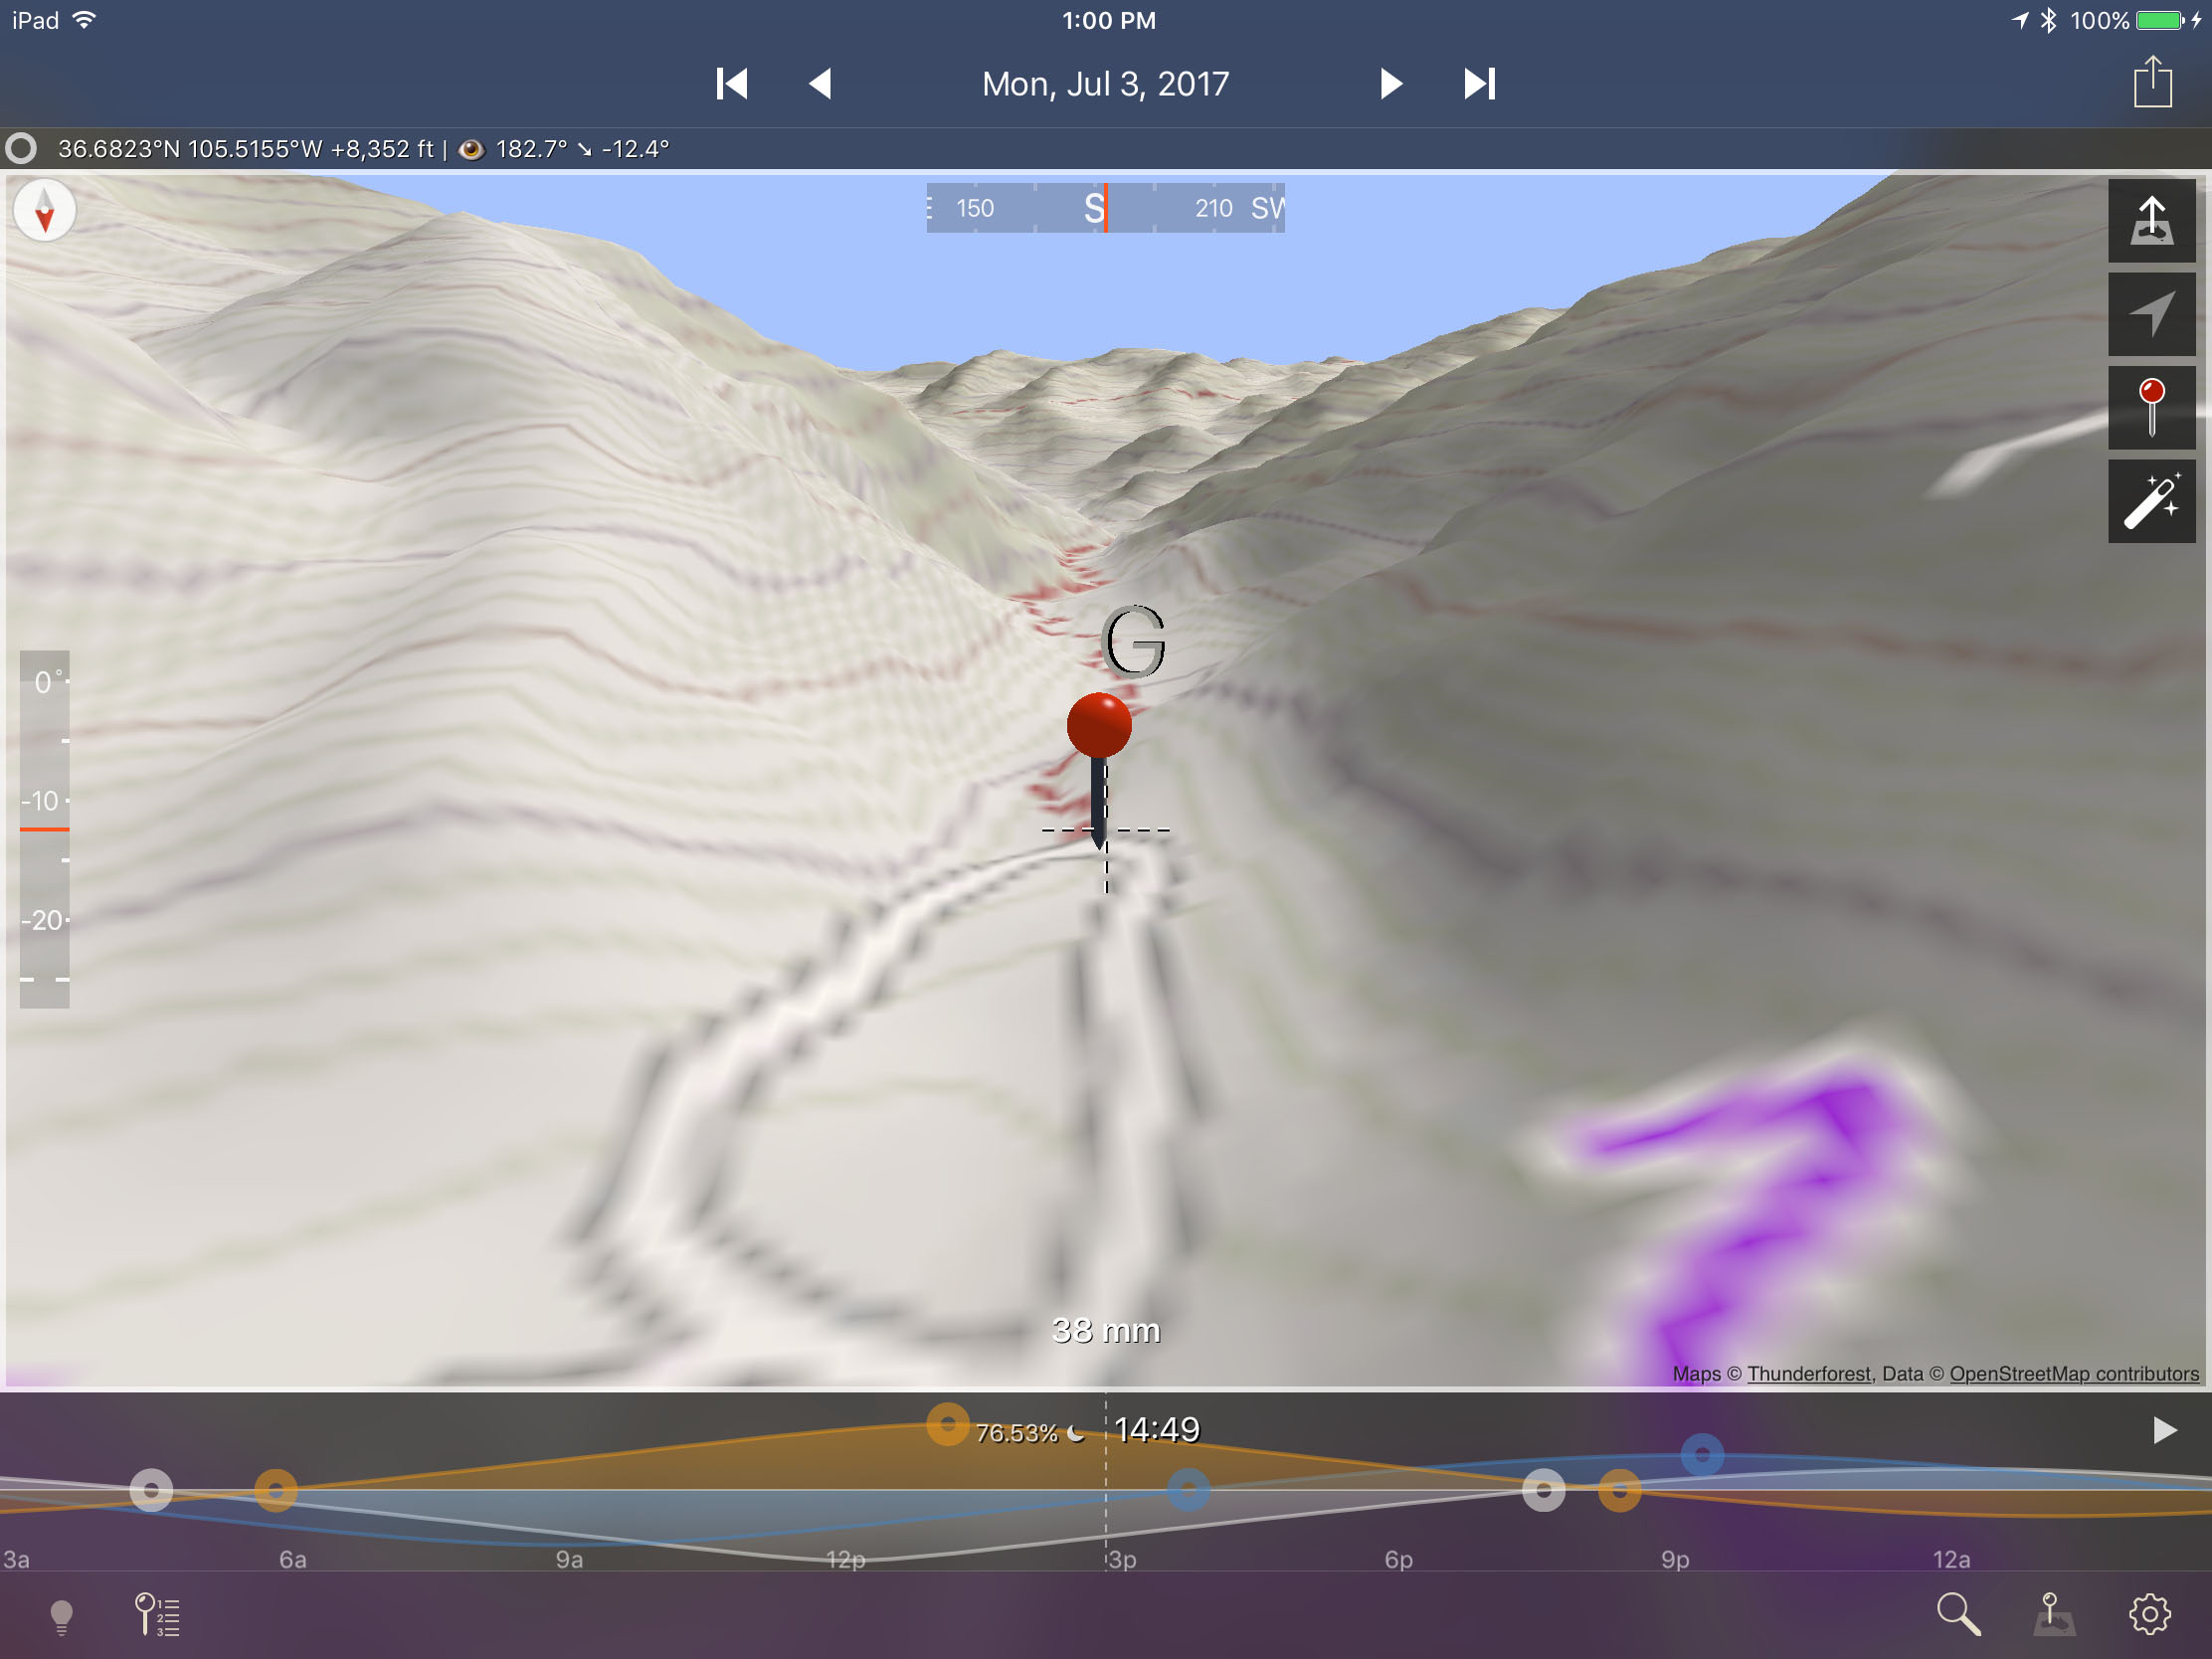 …and the afternoon view I got. 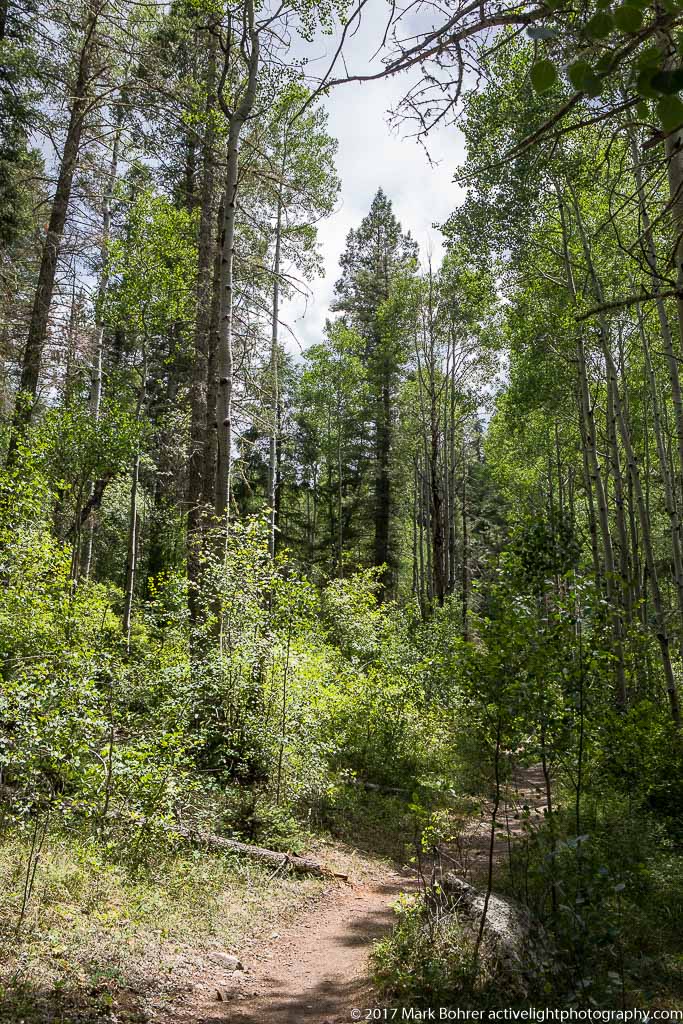 Actual picture looking up-canyon Rained Out on Maui – 1991 I was on Kauai around the time of the July 11, 1991 total solar eclipse. I played 24-hour hooky from an IEEE 802 LAN standards conference to fly to Maui where I could observe and photograph totality, every eclipse-chaser’s goal. But I should have known I was in trouble from the heavy cloud cover when I landed at Kahului the night before. On eclipse morning, I stopped at the entrance to Haleakala National Park in a steady downpour. The gate ranger said if anything, it was raining harder at the top. I watched it get very dark, and vowed to shoot the next one under clear skies. Solar Eclipse Planning – 2017 It took me over 25 years, but I’m trying again. I’ll be in Dayville, Oregon on August 21, 2017 near the center of the solar eclipse’s path. To preview it, I entered Dayville, OR into TPE 3D’s search box. I chose the town from the result list, then tapped the pin icon to the screen’s upper right to display it. I rotated to face east, where the sun will be around the 10am-ish eclipse time, and slid a finger along the right-side elevation slider to get to a ground level view. From there I used the arrows near the top of the screen to advance to Monday, August 21, 2017. Selecting enhanced view (magic wand icon), turning the iPad for a vertical view and sliding my finger along the screen’s bottom made it very clear I’d need to use at longest a full-frame 35mm lens to capture the eclipse phases with any terrestrial foreground, and a 28mm to get post-totality movement. That’s in addition to the 500mm f/4L + 2X teleconverter I’ll have on a tripod-mounted full-frame camera for a sun-and-corona-only view. Alternatively I’ll be ready to use a 1.6X crop sensor camera with the 500mm and 1.4X teleconverter for an 1120mm equivalent view. A third possibility is the ‘barefoot’ 500mm lens on the 1.6X crop body for an 800mm equivalent view. That gives me more wiggle room around the sun, and may make it easier to track as it moves across the sky. It pays to have gear redundancy in case something breaks or doesn’t work. I also plan to try out all these setups with approriate solar filters before I go. TPE 3D doesn’t show the actual eclipse lighting you can expect at totality, but you do get enough prediction to plan out every other aspect. Here’s what it should look like at 40mm and 28mm 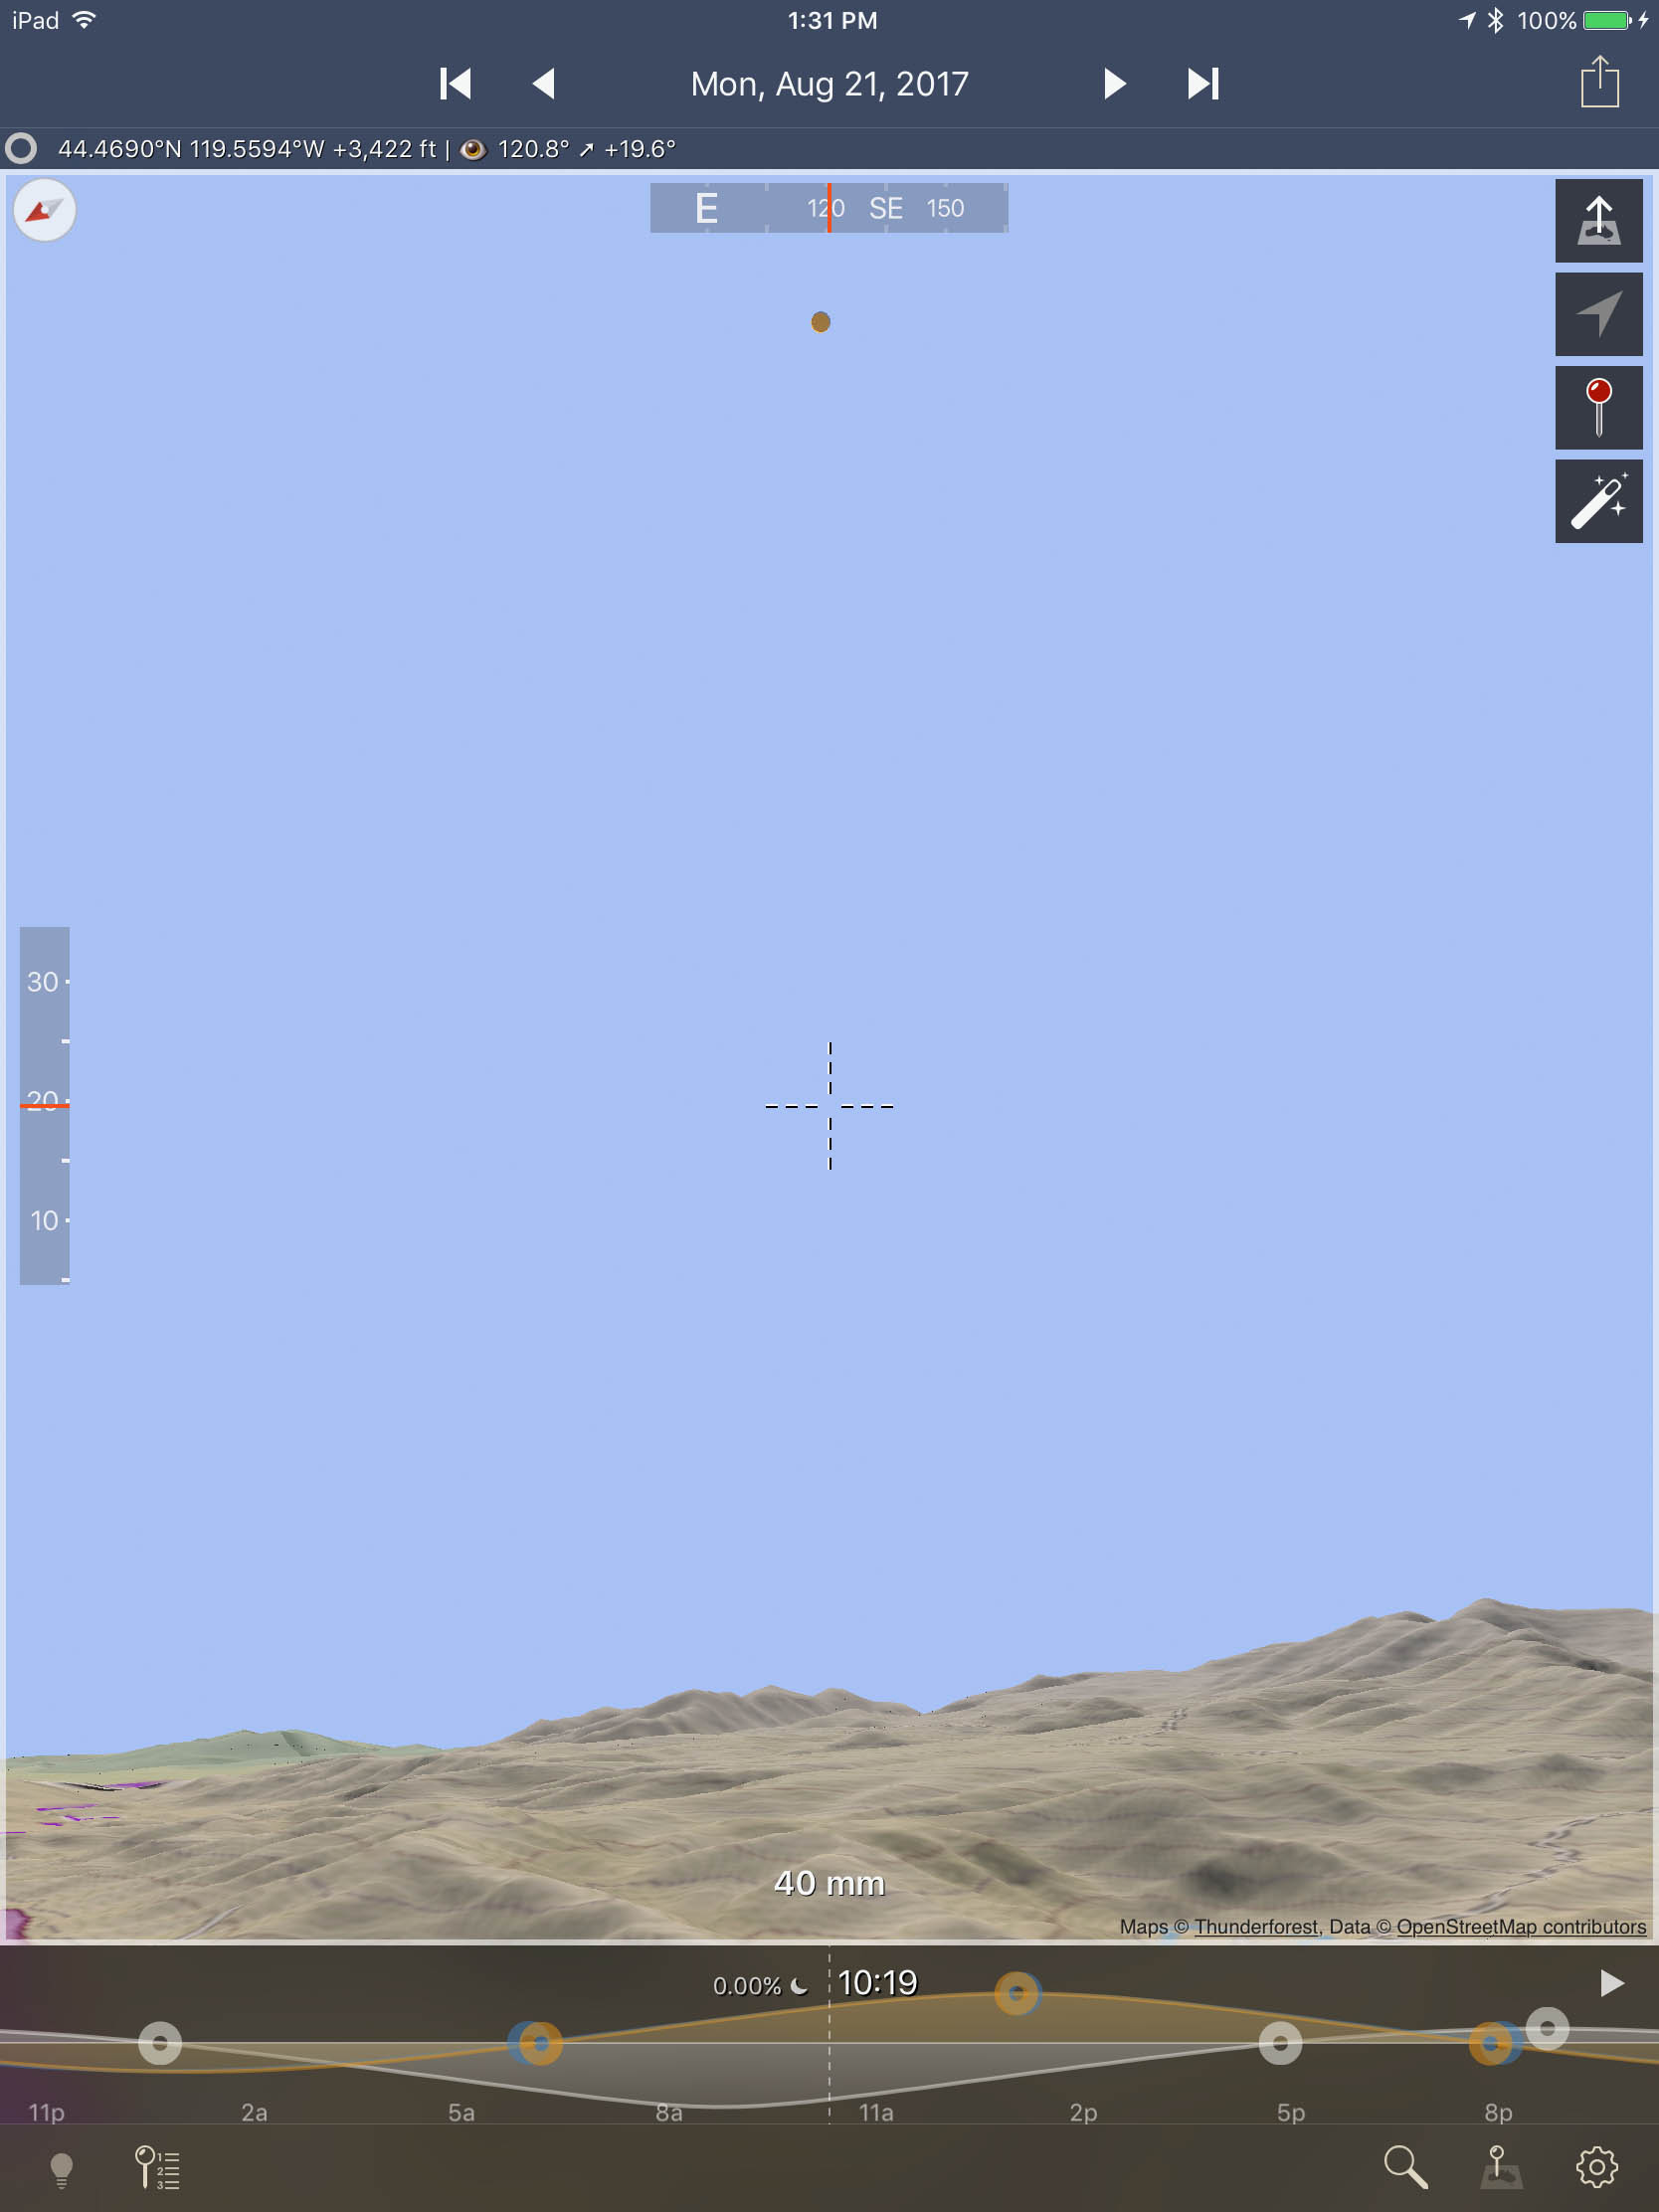 TPE 3D-predicted eclipse totality view from Dayville, Oregon, August 21, 2017 – 40mm works here 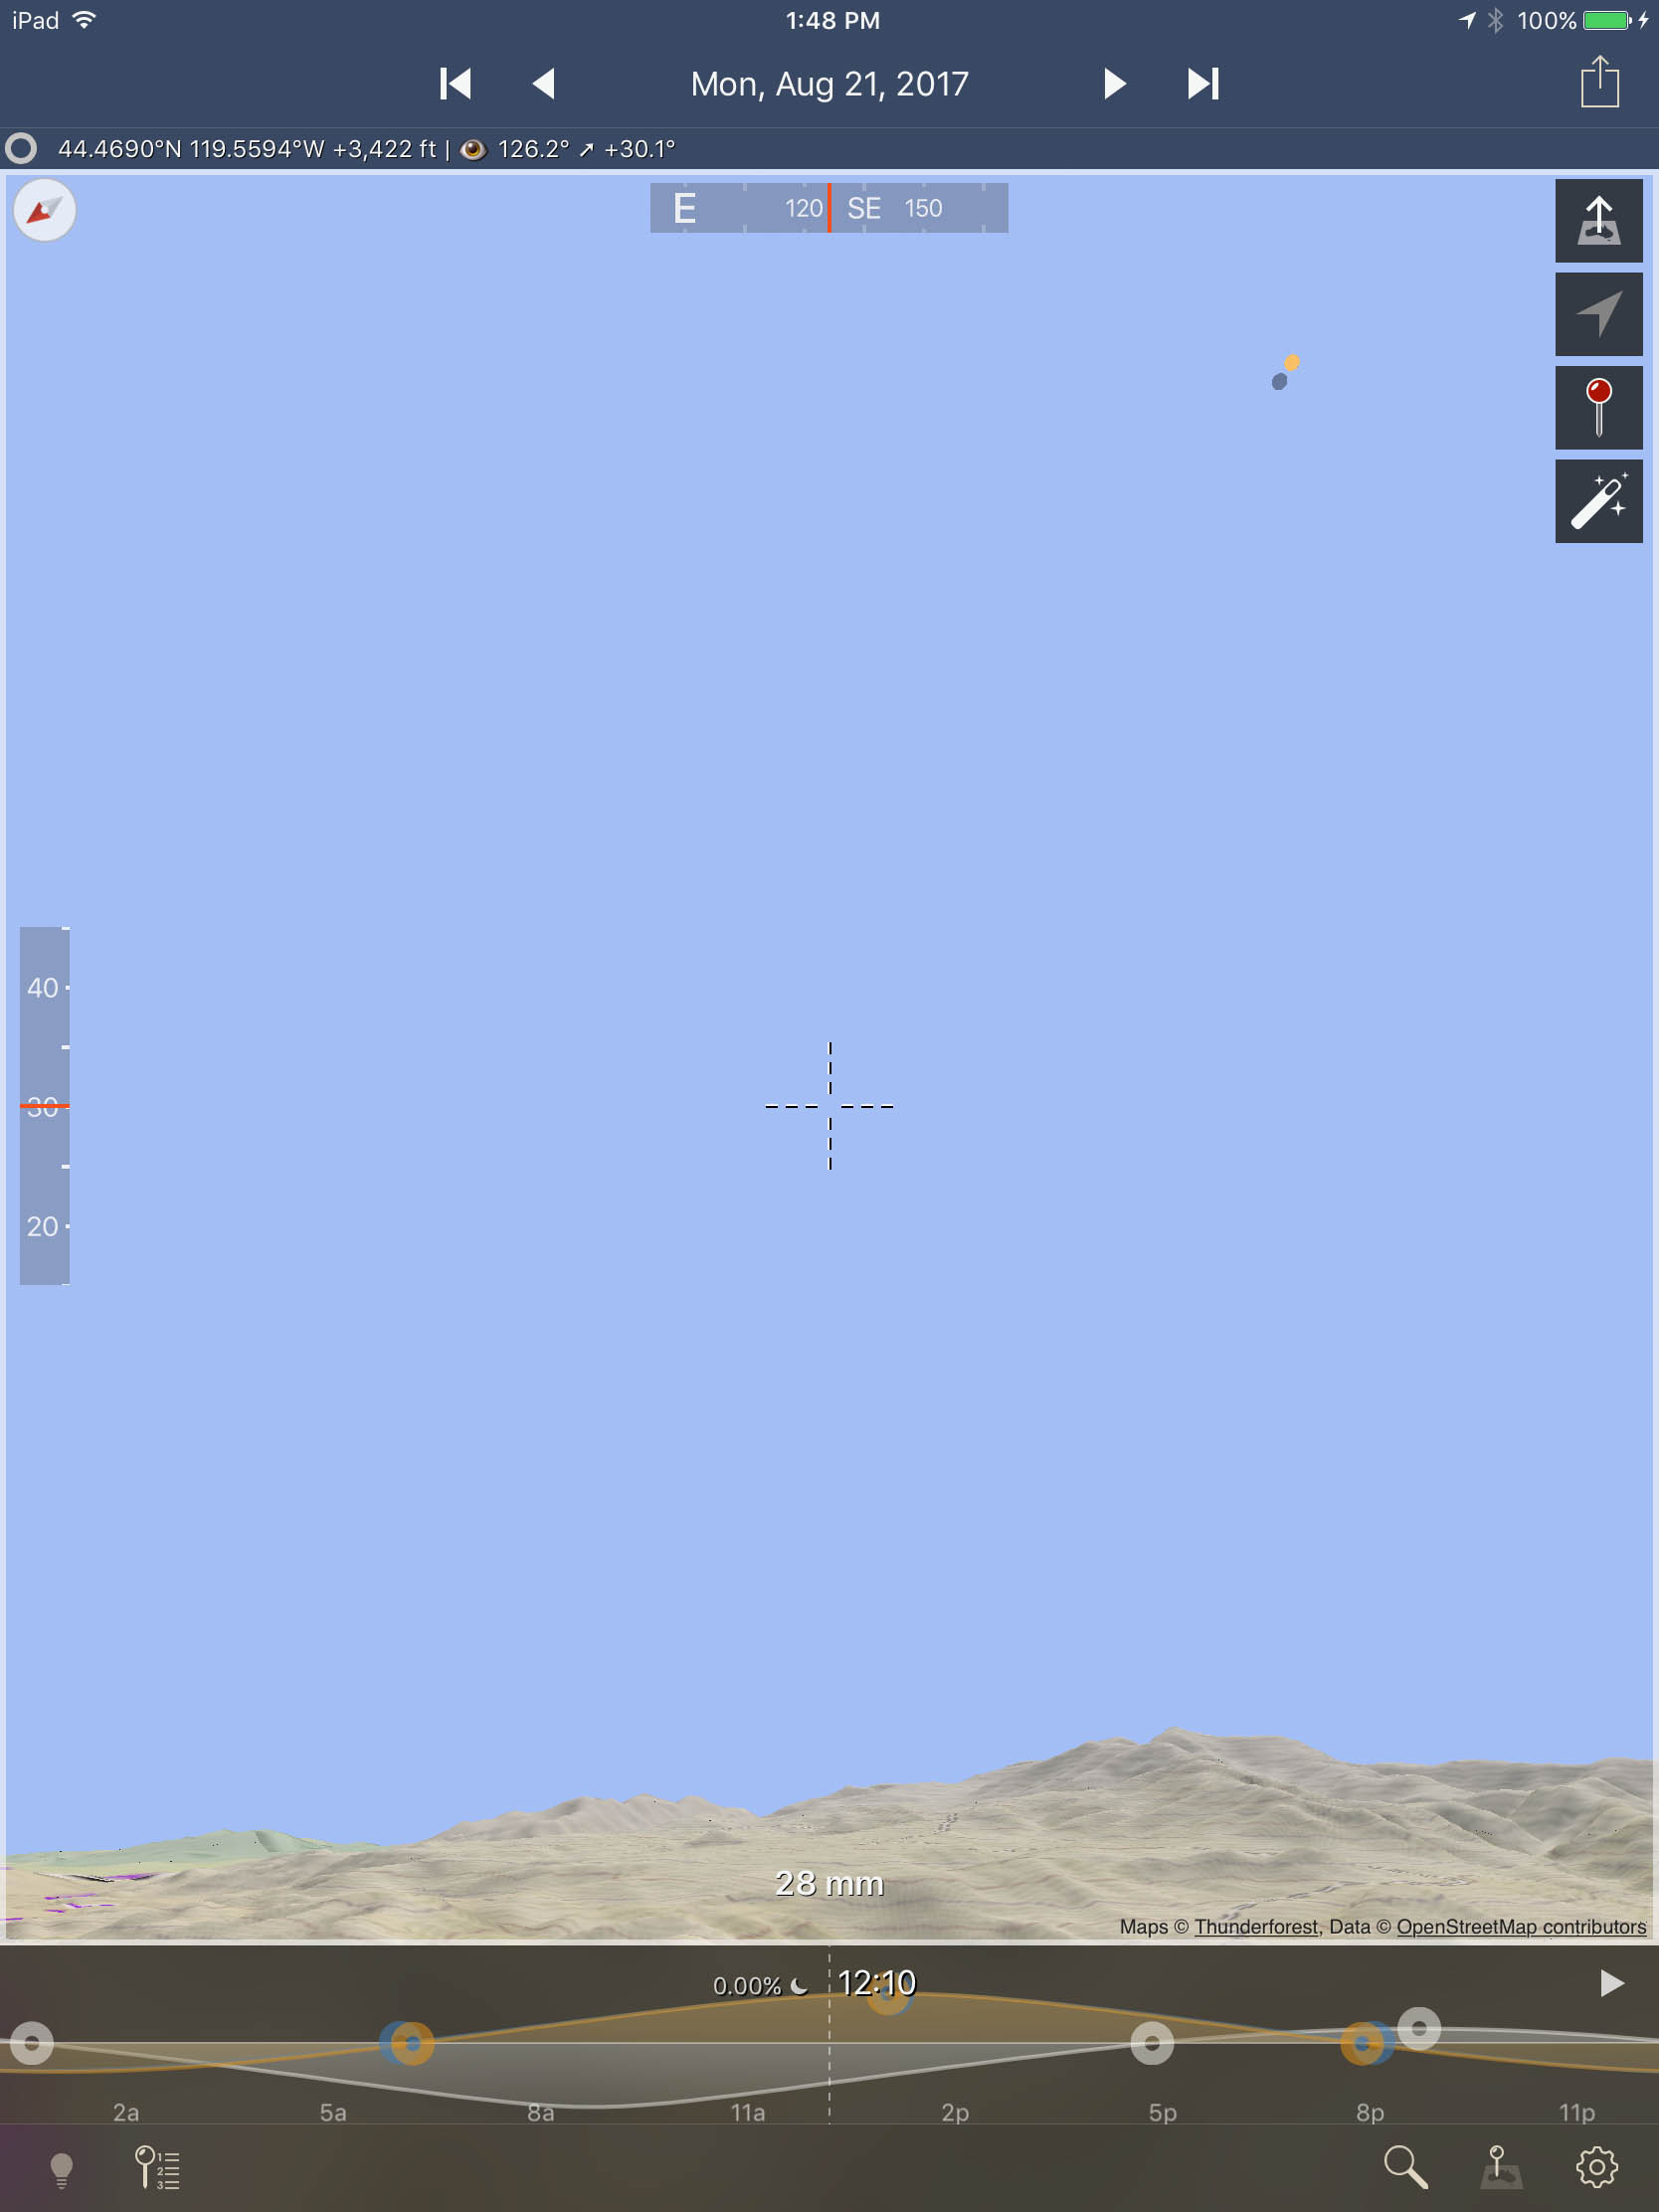 TPE 3D-predicted eclipse post-totality view from Dayville, Oregon, August 21, 2017 – need 28mm here Shot Notes – Read the Book If you’re using less than 1200mm on a tripod, a clock drive – a tracking motorized mount – should be unnecessary, according to Mark Littmann, Ken Willcox and Fred Espenak. Those three – a science journalist / professor, a polymer chemist / amateur astronomer, and an astrophycist – wrote Totality, the definitive guide to solar eclipses to prepare everyone for the one I got rained out of in 1991. The updated book by Littmann and Espenak covers the 2017 and 2024 eclipses. Either book will give you tips on the celestial mechanics involved and why it happens, safe observation, long-term weather outlook (important if you don’t want to get rained out), and eclipse photography. Maui Experience – 1991 The only picture I got was an incredible sunset through the clouds just before landing at Kahalui. I was using a Canon New F1 film camera with an FD 35-105mm f/3.5 lens. That lens broke constantly, right above the zoom ring, but this time it didn’t. I liked its constant f/3.5 aperture over the zoom range, a rarity at the time. Today’s lenses (at least the 14 year-old L-series zooms I use) are mechanically and optically much better. More Gear & Better Prep This Time This time I’m packing a lot of gear. I’ll have Canon EOS full-frame and crop-sensor cameras, older 500mm f/4L IS, EF 2X II and 1.4X II Extenders, and 24-70mm f.2.8L optics, Fujifilm X-E2 camera, Zeiss 25mm f/2.8 Biogon T* ZM, and solar ND filters for all of them. I’ll also have GItzo 1325 mk II and 1127 mk II Mountaineer tripods, older carbon-fiber models that still work well. I’ll avoid using the lighter 1127 tripod’s center column and hang a weighted bag from its center hook for stability. With any of those ND filters, manufacturers recommend you avoid looking directly through an optical viewfinder to be sure you avoid eye damage. Ue any recent digital camera’s live view instead. I usually like to travel light. But hey, it’s a once or twice a lifetime event – so I’ll bring the kitchen sink. Even if I capture nothing on pixels, I’ll enjoy the event with friends and family. More Information 1. TPE 3D, accessed from https://photoephemeris.com/tpe-3d 2. Totality: The Great American Eclipses of 2017 and 2024, 1st Edition, available from http://tinyurl.com/y7a7wxjk 3. Eclipse Photography – Part 2, accessed from http://www.mreclipse.com/Totality2/TotalityCh12-2.html |
(408) 483-3782
Curious about how to shoot ruins?(408) 483-3782
Recent Comments