|
On The Hunt – He raised his equipment slowly. When he saw he hadn’t spooked his quarry, he got ready. Making sure his left hand held the barrel steady, he held his breath and squeezed… the shutter button. 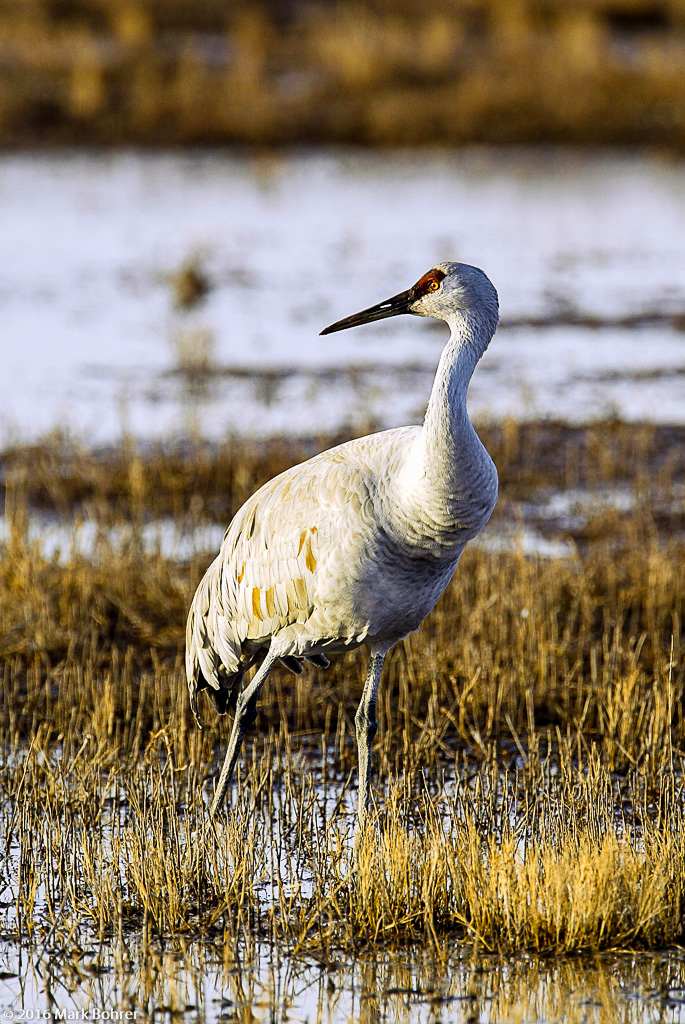 Sandhill crane, Bosque del Apache National Monument, New Mexico  Handholding the Shot This is my usual procedure when I shoot handheld. Back in the day with film inside a Leica rangefinder camera, I’d meter, set exposure, focus, then support the lens barrel with my left hand while I squeezed the shutter with my right. Looking through the viewfinder, my forehead provided a third point of stability – something you don’t get holding a smartphone camera at arms’ length. I learned to hold my breath to avoid shaking the camera. With practice, I could shoot as slow as 1/15 second handheld. Walk Lightly and Use Aperture Priority Today, I set aperture priority and pick aperture for the depth of field I want. For wildlife, I will shoot handheld with a 400mm f/4 DO IS lens on a smaller, prosumer dSLR. IS helps, but I try to set ISO high enough to give me 1/1000 second or faster at my chosen aperture. A tripod gives me more flexibility with exposure, and is mandatory with the 500mm lens. I got tired of carrying heavy pro dSPRs like the EOS 1D mk II and prosumer cameras with battery grips, so I switched to lighter cameras. The extra battery power could be handy during a long shoot, but the weight made it harder to handhold. Lighter equipment makes it easier – but when do you go out to shoot? 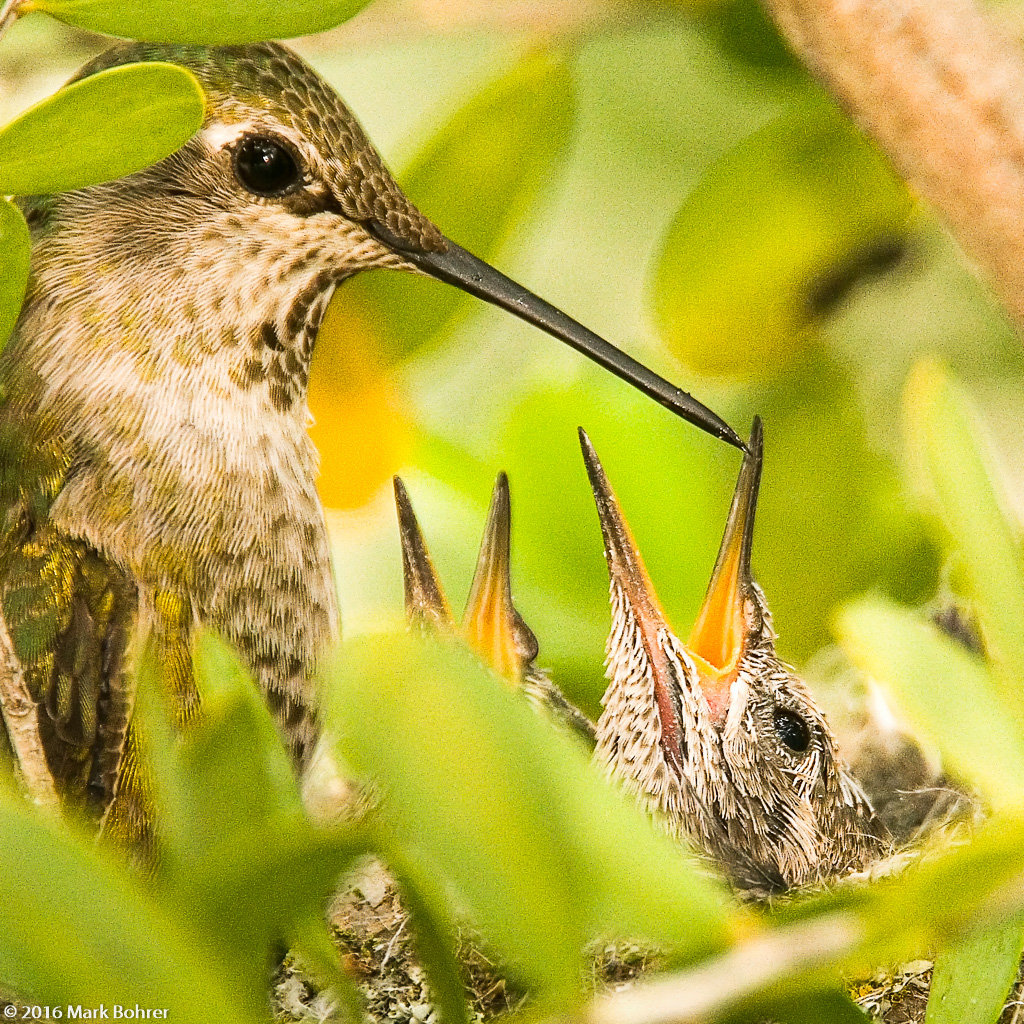 Anna’s Hummingbird mother and nestlings, Palo Alto Baylands, California Seasons Every April and May you’re guaranteed to see young birds and mammals. Some youngsters appear in early April while others don’t come out ‘til early June. Guys with horns or antlers rut at different times but nearly always during the warmer months. Male bison fight over females in June. Deer, elk and moose rut in early fall. Young bison bulls engage in a little horseplay into January. 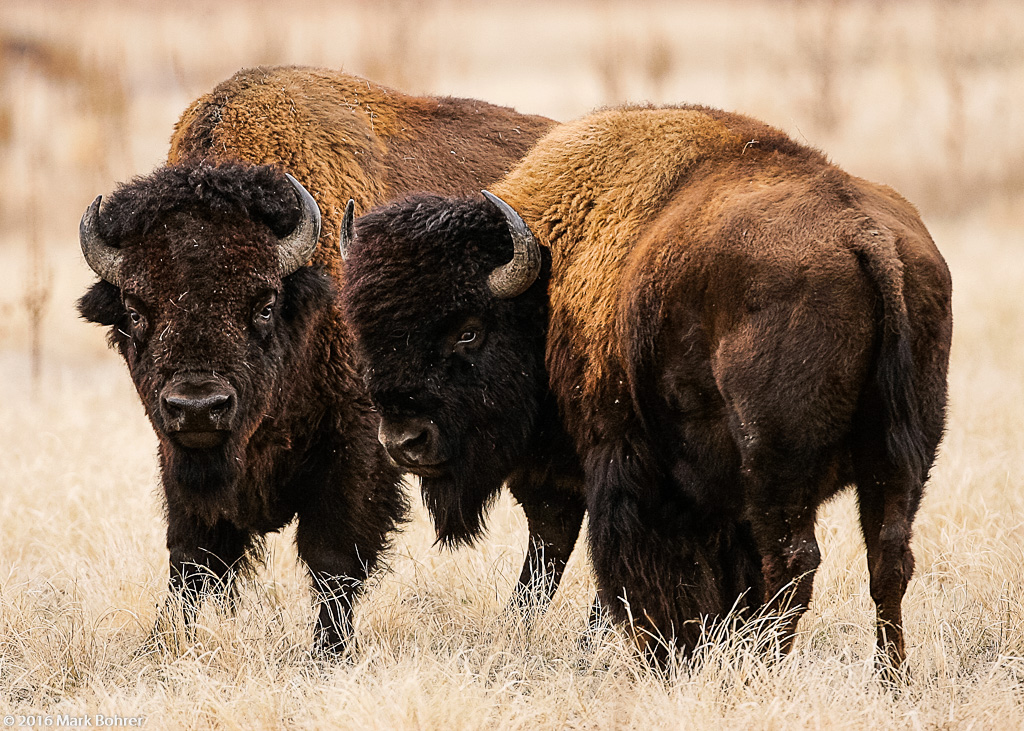 Curious bison, December, Antelope Island State Park, Utah Rodents come out of hibernation and mate furiously. But they’ll disappear for the long sleep as early as late July for some species. The only times I avoid shooting certain species are when males are competing for females. It’s simply too dangerous to get anywhere near aggressive males at those times. I can get the shots I want in mid-summer or December. ‘Magic Hour’ Light Is Overrated Some birds and animals have characteristic dawn behavior. At New Mexico’s Bosque del Apache in December, I was up early to capture the dawn liftoff of snow geese that happens every winter morning. The pink colors in the sky were a bonus. But most interesting behavior happens after sunrise and before sunset. 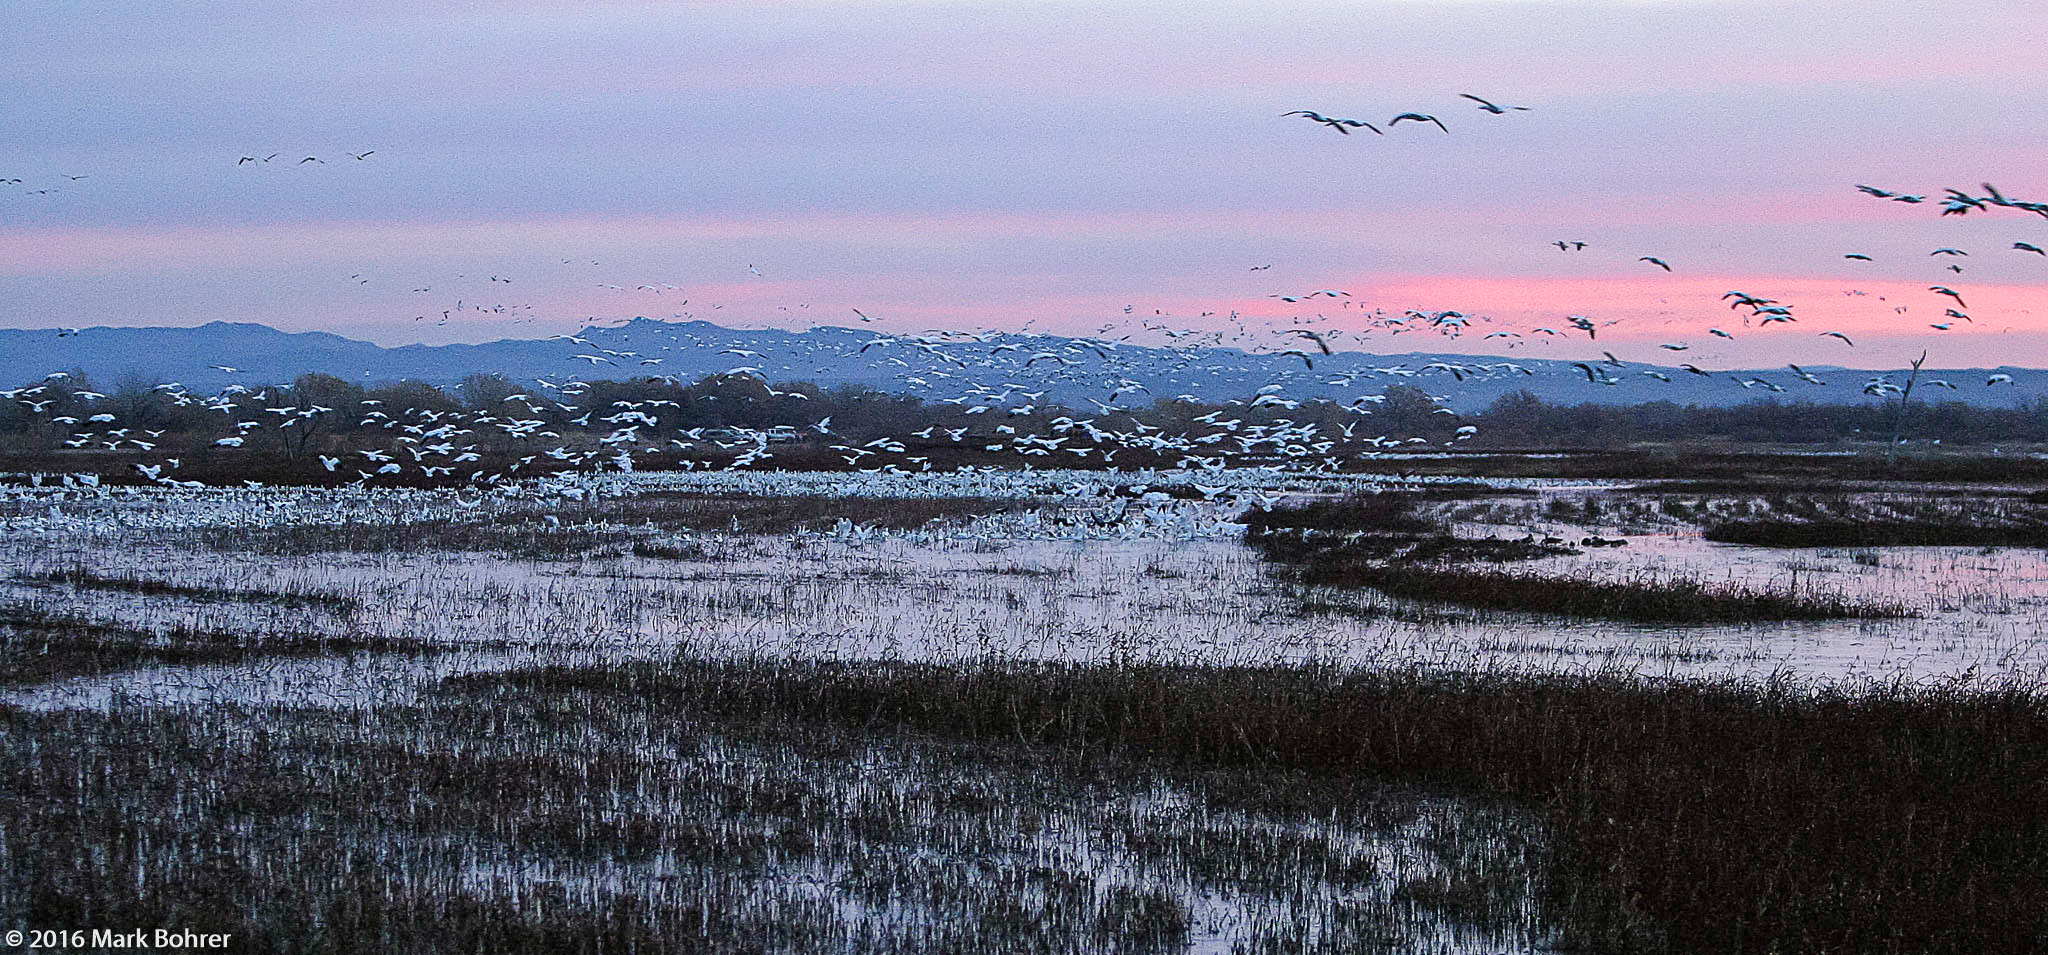 Snow goose liftoff, Bosque del Apache National Wildlife Refuge, New Mexico – Click for bigger image in a new window I don’t like harsh mid-day light. That’s one reason I love shooting in winter – low-angle winter sun in most North American locations extends the low contrast light closer to mid-day, and I can shoot longer. 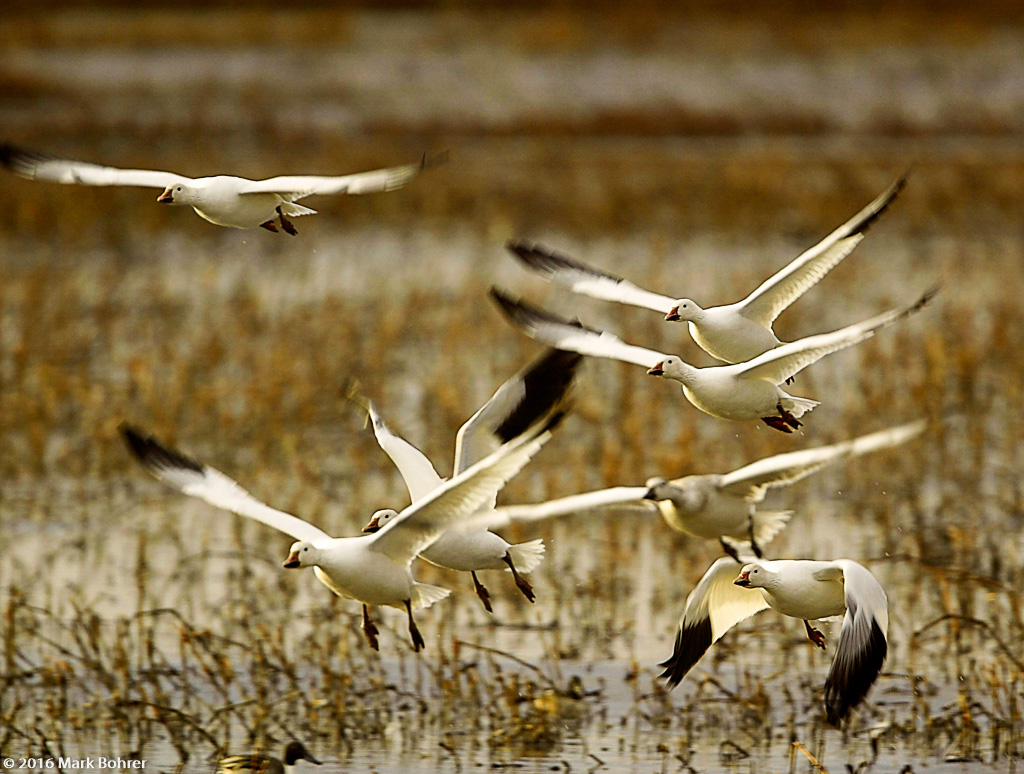 Snow geese, Bosque del Apache National Wildlife Refuge, New Mexico No Bullseyes If you’re a hunter, you may want to bullseye center your sights on your quarry. But as a photographer, give the subject some room to move into the horizontal frame. It’s usually disturbing to a viewer when your subject seems to be leaving your picture, and they may find the symmetry boring. Dead-center placement is OK in verticals. They’re usually tighter – less distracting junk makes centered verticals work. Even here, I sometimes keep the subject out of dead-center. The Eyes Have It Finally, I always have at least one of my subject’s eyes in focus. This gives the viewer a pleasing image since most of us look at the eyes first. Feathers and fur on the face should also be sharp doing this. I usually previsualize my shot design, and choose an autofocus sensor point that gives me the eye placement I want. I avoid letting the camera choose the focus point for me. |
(408) 483-3782
Curious about how to shoot ruins?(408) 483-3782
Recent Comments