 Grizzly clacking teeth, Jasper National Park, Alberta Skip The Equipment – Do Your Homework First Beyond gear choices, these 6 tips will greatly increase your chances of bringing back intense wildlife images. You know, shots to impress your friends and photo editors. (No worries, lens suggestions appear at the end.) 1. Choice of place / behavior / species Your choice of destination may be driven either by place or by species. While there may be iconic megafauna associated with any destination, anyone who claims to be able to guarantee what you’ll see outside a wild animal park or zoo is lying. You’re better off with a plan allowing you to photograph whatever species you might encounter in a signature destination like Antelope Island State Park in Great Salt Lake, Wyoming’s Grand Teton National Park, or Alberta’s Jasper National Park. Species research will give you general and sometimes specific locations and behaviors to look for, if you don’t already know. Compelling wildlife photographs depend not just on great light, but also on compelling subject behavior. Knowing that behavior also alerts you to warning signs that may reduce your risk in any encounter. Ears flattened back on the head and whites of eyes showing may alert you to a moose’s distress. Clacking teeth and standing on hind legs may precede a charge by a grizzly, and belatedly tell you you’re too close. You’re much safer photographing bison outside their June rut, or elk, deer and moose outside their Fall rut. And when the wildlife don’t cooperate, a great destination will provide excellent landscape shooting. 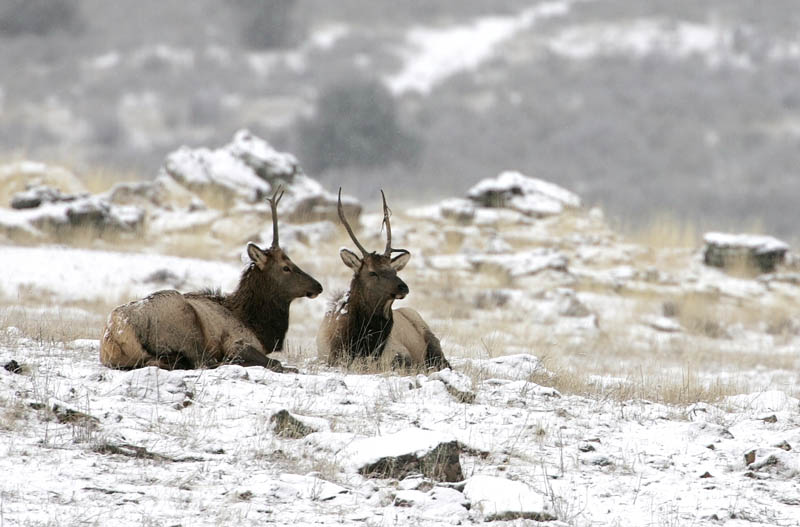 Wintering elk, Hardware Ranch Wildlife Management Area, Blacksmith Fork Canyon, Utah Avoid getting too close for your own safety. If you alter wildlife behavior by your presence, you were too close. 2. Weather Effects Blue skies with contrasty light are not your friend. On the other hand, monsoonal downpours or extreme cold or wind may keep you out of the field. Periods of drought may force wildlife to reliable water sources on a regular basis. Knowing where those sources are may increase your chances of getting the shot, but also increase the risk to you. Remember you’re pre-shrunk, and there are ways to protect equipment from rain and wind-blown sand. Properly prepared, you can photograph in any weather if you can get out there. The key is research so you know what to expect, and equip accordingly. I’ve photographed bison in mid-December, I’ve photographed mule deer and hummingbirds in spring downpours, and I’ve photographed grizzly sows and cubs in late summer rain. Properly prepared, I’ve returned with good images. 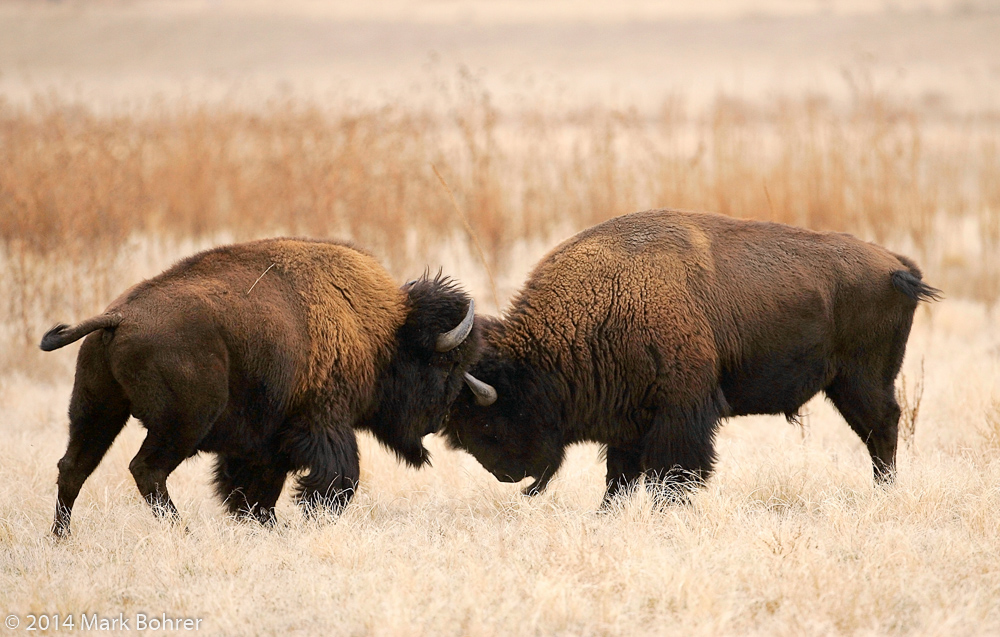 Bison play-fighting, Antelope Island State Park, Utah 3. Animal Migrations and Movement This is another place to do your research. Alaskan caribou have patterns and routes for seasonal migrations. Grizzlies and Belding’s ground squirrels are just two species hard or impossible to find in winter. A native guide can give you invaluable information about where to find wildlife in particular locations. After dinner at a local Jasper restaurant, our server told us we could usually find large mammals along Alberta Highway 16 leading out of the park towards Edmonton. He was right. 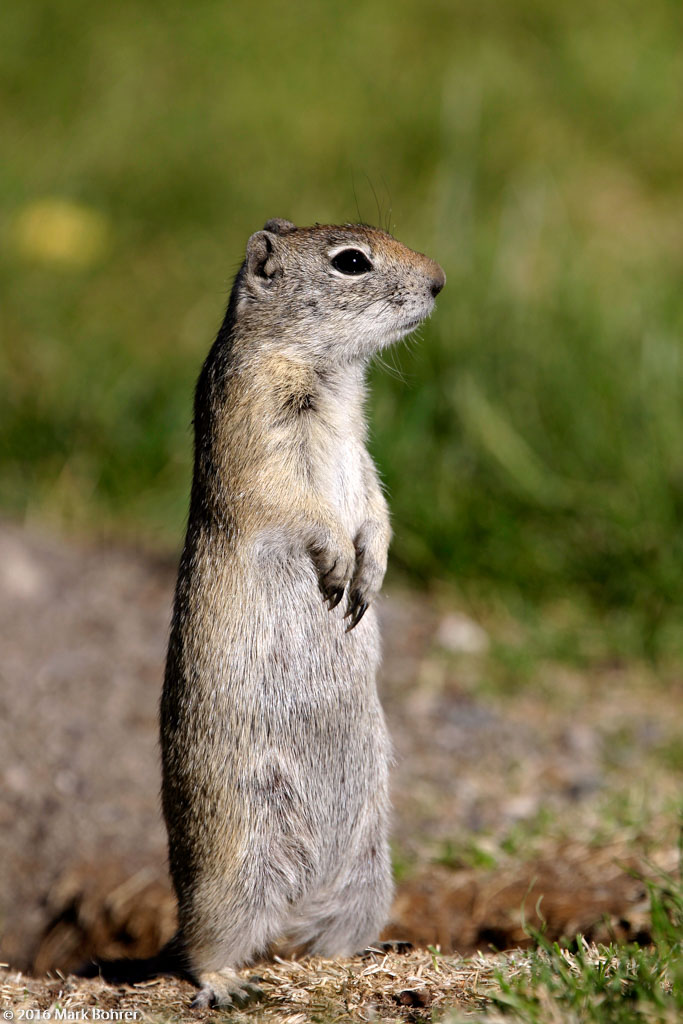 Belding’s ground squirrel, Mono County Park, California 4. Planning Itinerary It’s tough to know how long to spend in each destination. You might be better off planning your trip around locations with the best chance of seeing your desired subject, again through advance research. Knowing when you might see behavior you’d like to capture, like mating behavior, timing of colorful mating plumage, feeding times for nestlings or likely hunting times for predators, or spring and fall migration times, will tell you when to go to those likely locations. A native guide may be necessary, hired in advance. Some areas may be visited only in the company of someone licensed and permitted, and this person will know local wildlife habits and locations well. 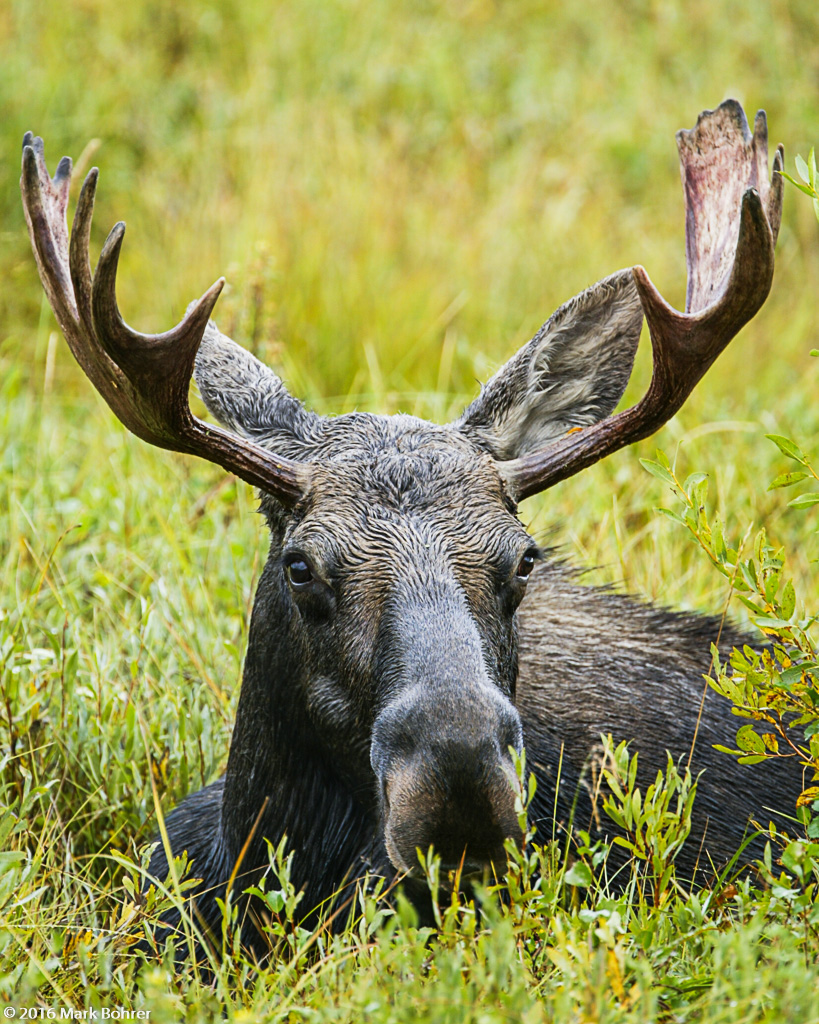 Moose, Oxbow Bend, Grand Teton National Park 5. Accommodations One way to beat local travel time and distance is with an RV. I’ve used one in Canada and the western U.S. to put myself relatively close to locations. I’ve also found motel lodging fairly close to spots like Bosque del Apache National Wildlife Refuge, gotten up well before sunrise, and driven out to my researched and scouted locations. After rising early at nearby lodging and driving in, a ride in the Denali National Park bus starting in early morning on a cloudy day yielded caribou and grizzly behavior in soft light during rain. 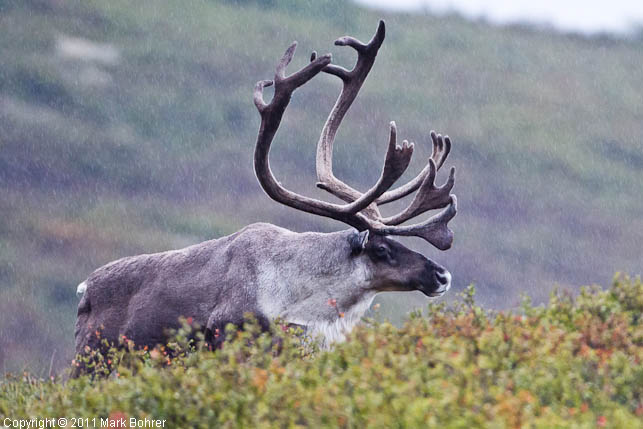 Caribou above Sanctuary River, Denali National Park Free WiFi is never a requirement for good wildlife photography. Think about how you lived unconnected before 1999, and work without it. I designed products for and helped write wired Ethernet computer networking standards, and remember how to survive just fine without WiFi. You may have a news blackout for awhile when you’re out there, but that’s just part of the experience. 6. Equipment – Walk Softly And Carry A Big Lens For the record, I never go out with anything shorter than 400mm on a full-frame camera. I may use a 1.4X teleconverter on the 400mm for flight shots or nervous subjects. I’ll also use the 1.4X with a 500mm on a crop camera if I need to bridge more distance, or there’s a safety issue. Sometimes I get away with 200mm, but that’s usually a target of opportunity I just happen to see. 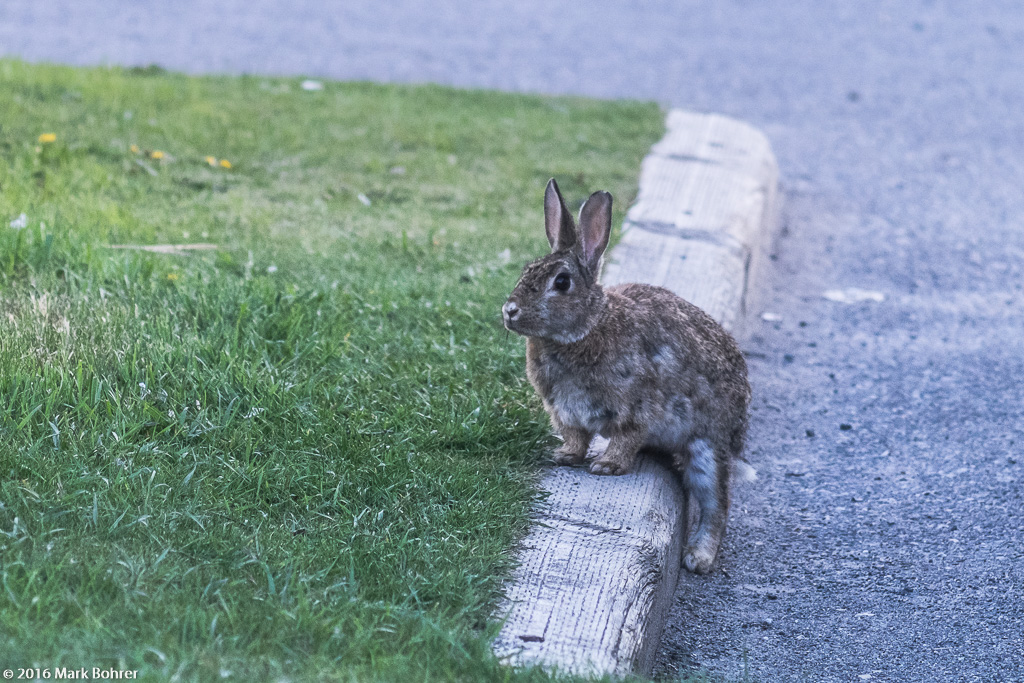 Relaxing cottontail, town of Canmore, Alberta 135mm f/4 Elmar on Fuji X-E2 crop-sensor camera – 203mm field of view This post is based on an article that originally appeared in LinkedIn. |
(408) 483-3782
Curious about how to shoot ruins?(408) 483-3782
Recent Comments